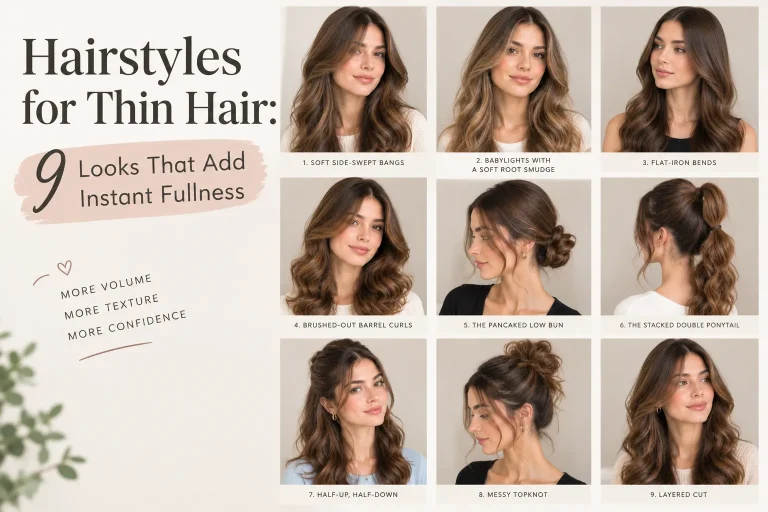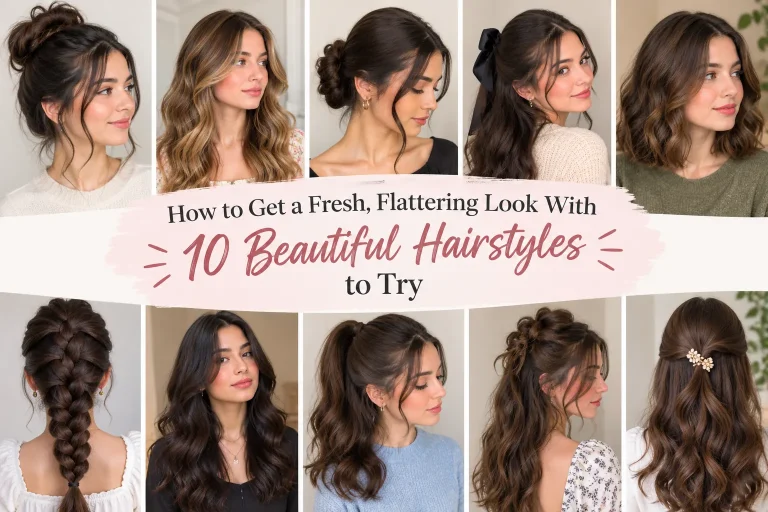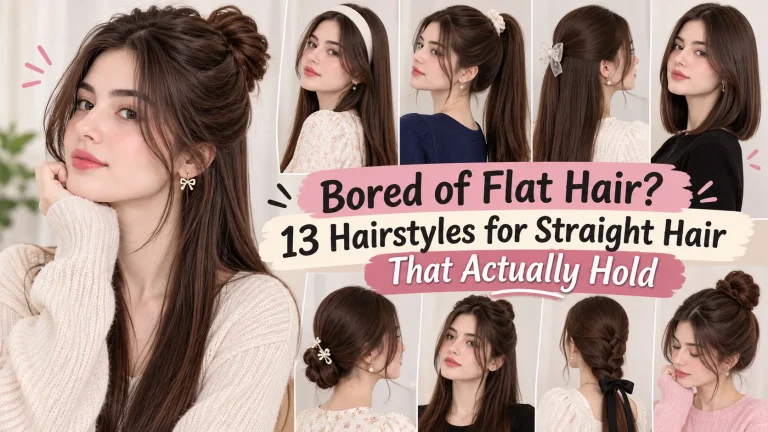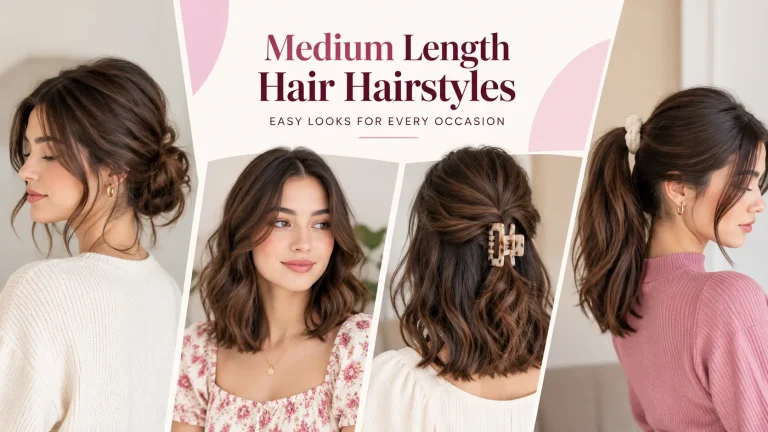
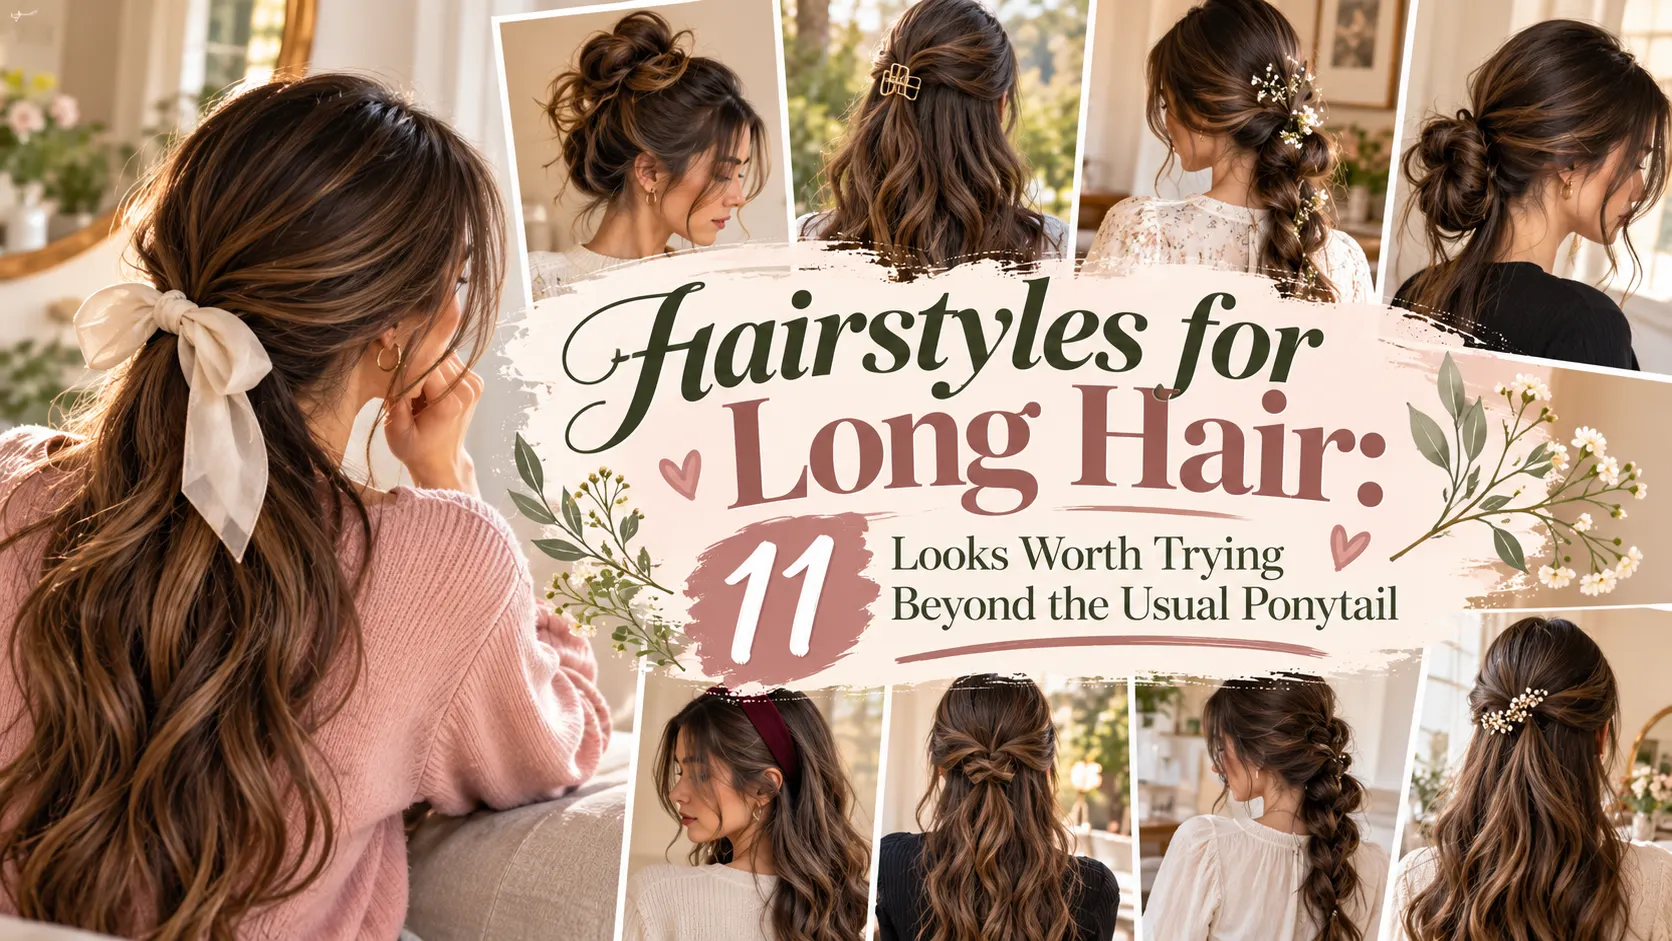
Hairstyles for Long Hair: 11 Looks Worth Trying Beyond the Usual Ponytail
Long hair gives you plenty of options, yet many mornings still end with the same quick ponytail. Time is usually the reason. Some styles take a couple of minutes, others need much longer, and it isn’t always clear which is which before you start.
So here’s a rough guide first. Treat these as estimates, since very long or thick hair, and a first attempt at anything, will usually take longer.
Usually quick: the inside-out low ponytail, the sleek high ponytail with a wrapped base, or hair cuff accent strands.
Give yourself a bit more time: flipped-out ends, flat iron beach waves, shingled defined curls, or a retro teased crown.
Worth practicing on a free afternoon first: a pin-up front roll, a French twist, a Gibson tuck, or a four-strand braid.
Here’s how to do each one.
Usually Quick
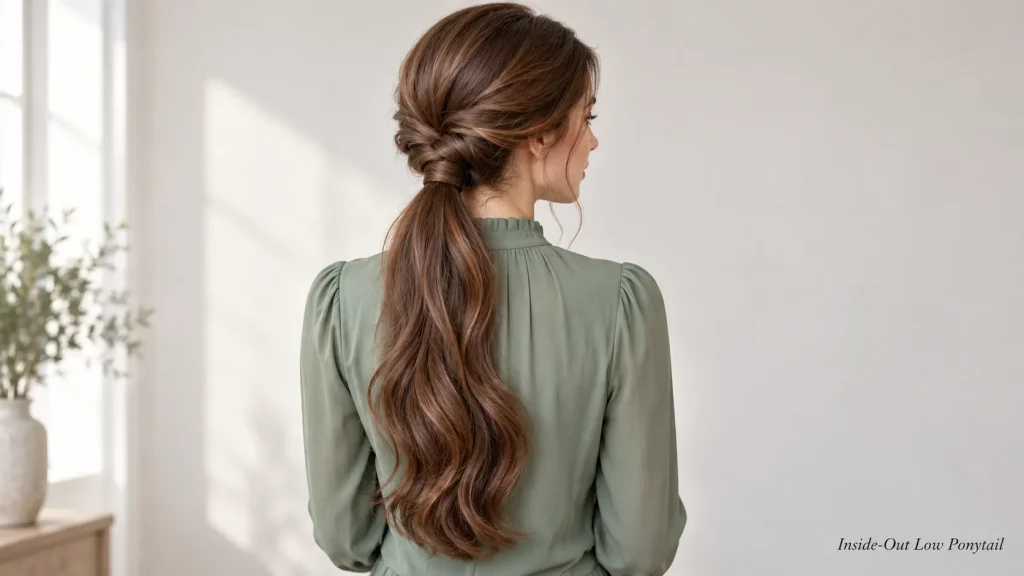
Inside-Out Low Ponytail
- Gather your hair into a loose low ponytail and secure it.
- Slide the elastic down a couple of centimeters.
- Open a small gap in the hair just above the elastic.
- Flip the ponytail up and through that gap.
The flip creates a soft twisted detail at the nape, so a plain ponytail suddenly looks finished. Tug gently at the sides for a relaxed shape, or leave it tight for something neater.
On fine hair, the flip can show the scalp a little. Lightly teasing the hair before you begin gives it more body.
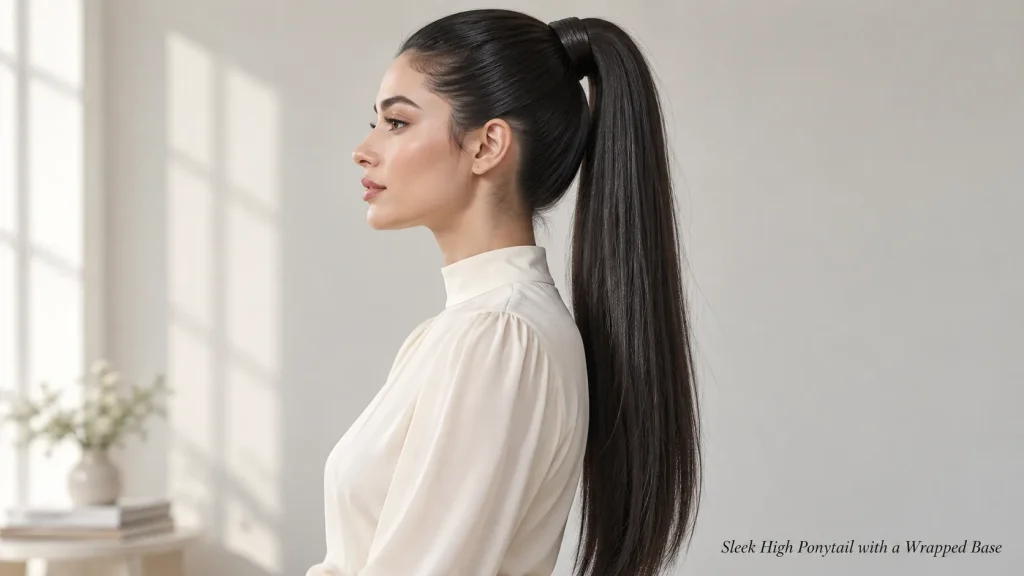
Sleek High Ponytail with a Wrapped Base
Brush everything back smoothly and tie it high at the crown. Then pull a thin strand from underneath the ponytail, wrap it around the elastic until it disappears, and pin the end underneath.
Hiding the elastic is a small change, but it makes the ponytail look far more polished, whether you’re heading to work or out for dinner. A small amount of smoothing cream tames flyaways along the hairline. Too much, though, and the length can look stiff or greasy.
Wearing a tight high ponytail every day can pull on the scalp. Switching the height or loosening the tension on some days gives your hairline a rest.
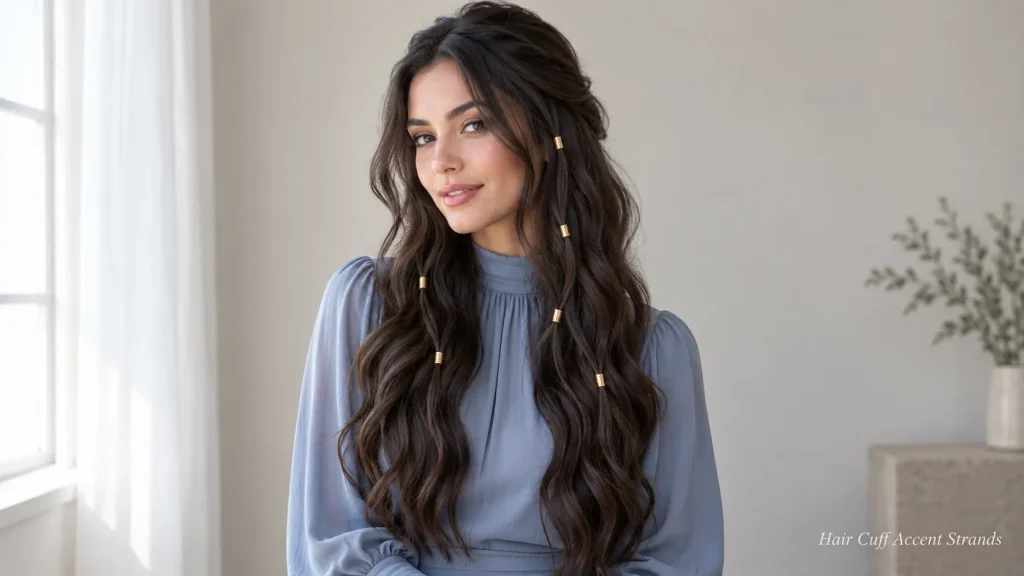
Hair Cuff Accent Strands
Hair cuffs are small metal rings or spirals that slide onto thin strands of hair. Leave your hair down, pick out three to six fine strands, and slide a cuff onto each one at different heights.
Placing two or three near the face and a few scattered through the lengths looks balanced. Gold cuffs stand out against dark hair, while silver tends to show up better on lighter shades. They sit especially well on waves.
Choose cuffs with smooth edges, and slide them off gently rather than pulling. Taking them out before bed avoids tangles.
Give Yourself a Bit More Time
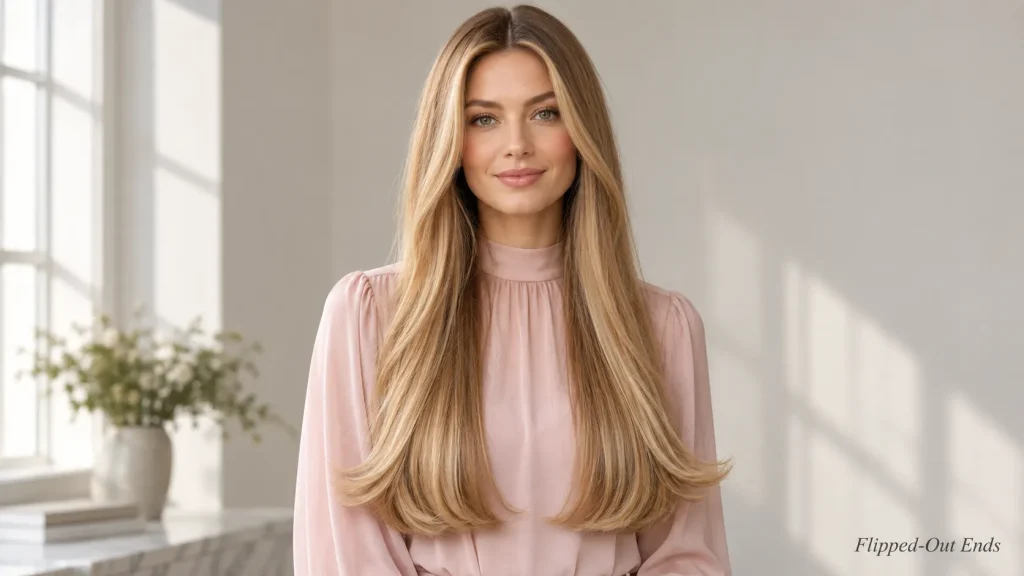
Flipped-Out Ends
Instead of curling the whole length, this style only shapes the very ends. Straighten or smooth your hair as usual. Then, working in sections, glide a flat iron down to the last few centimeters and turn your wrist outward so the ends flick away from your face.
A middle part keeps it feeling current rather than retro, and flipping only the last few centimeters keeps it subtle. For a bolder shape, start the turn a little higher.
Heat protectant matters here because the ends, being the oldest part of long hair, are often drier and more prone to damage than newer growth.
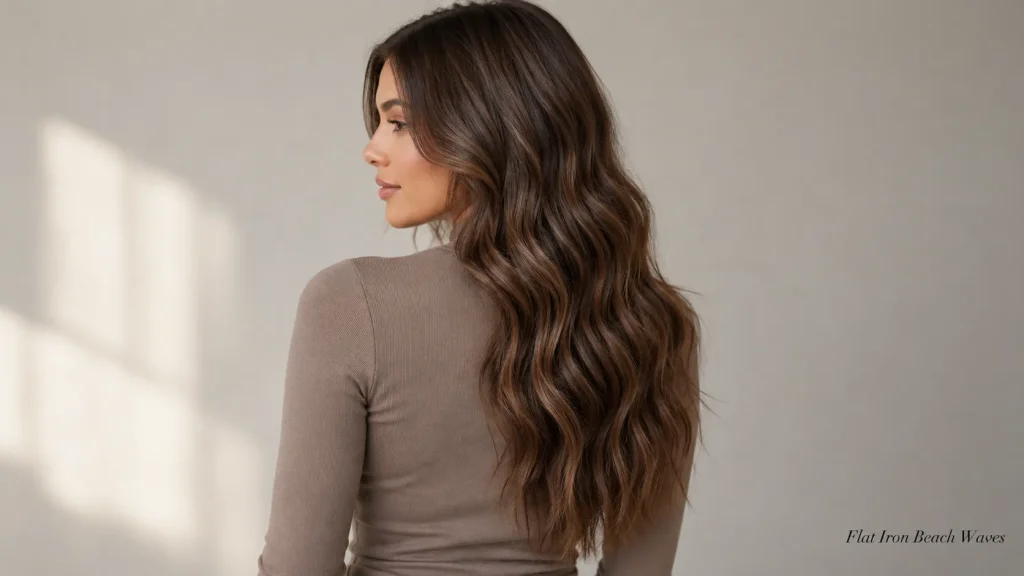
Flat Iron Beach Waves
A flat iron can create waves as well as straight lengths. Clamp a section near the root, twist the iron half a turn away from your face, and glide slowly down while holding the twist. Leave the last few centimeters straight for an undone finish.
Once every section is done, break up the waves with your fingers and mist with a texturizing spray.
Very long or thick hair needs more sections, so allow extra time. Keep the iron at a moderate temperature and avoid passing over the same section repeatedly.
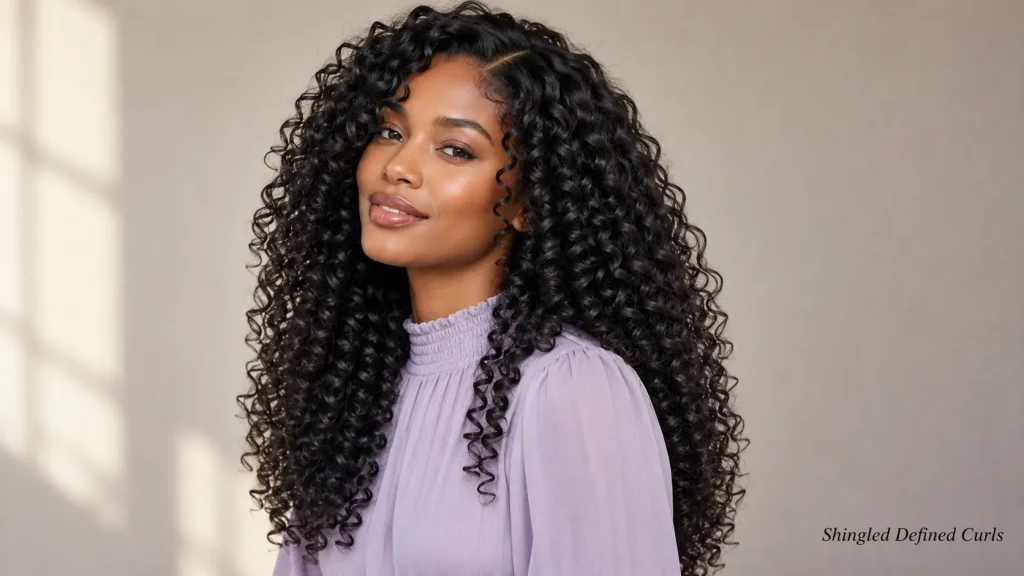
Shingled Defined Curls
This one is for naturally wavy or curly long hair. Shingling means applying product section by section and smoothing it through each one so curls clump together into defined ringlets.
- Start with soaking wet hair.
- Divide it into four to six sections.
- Working through small pieces, apply leave-in conditioner, then a curl cream or gel.
- Smooth the product from root to tip between your fingers, letting the curl spring back.
- Air dry or diffuse on low heat without touching the hair.
- Once fully dry, scrunch gently to soften any stiffness.
It does take patience on long hair, but the result looks quite different from a quick scrunch-and-go. Curls come out longer, more separated, and more uniform. Results depend on your curl pattern and the products you use, so it can take a few tries to find a combination you like.
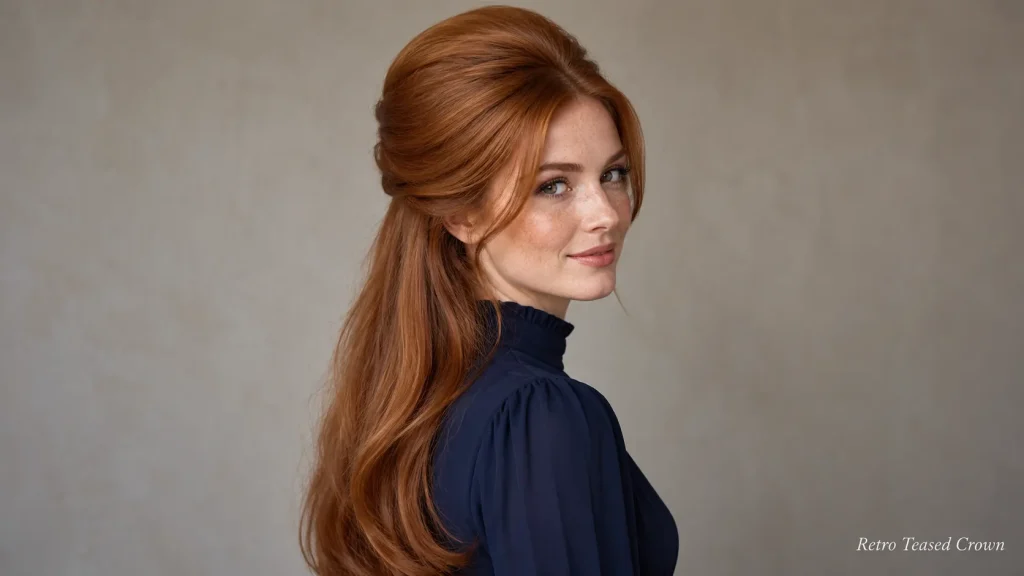
Retro Teased Crown
Section off the top layer from the crown. Holding small pieces straight up, backcomb gently toward the scalp with a fine-tooth comb. When you’ve built some lift, smooth the top layer over it with a soft brush and pin it at the back.
You end up with a 1960s-style bump that gives real height. Pair it with sleek, straight lengths for contrast, or with soft waves for a fuller look.
Teased hair can knot if you rush taking it out. Start at the ends with a wide-tooth comb and a little detangler, then work upward slowly.
Worth Practicing First
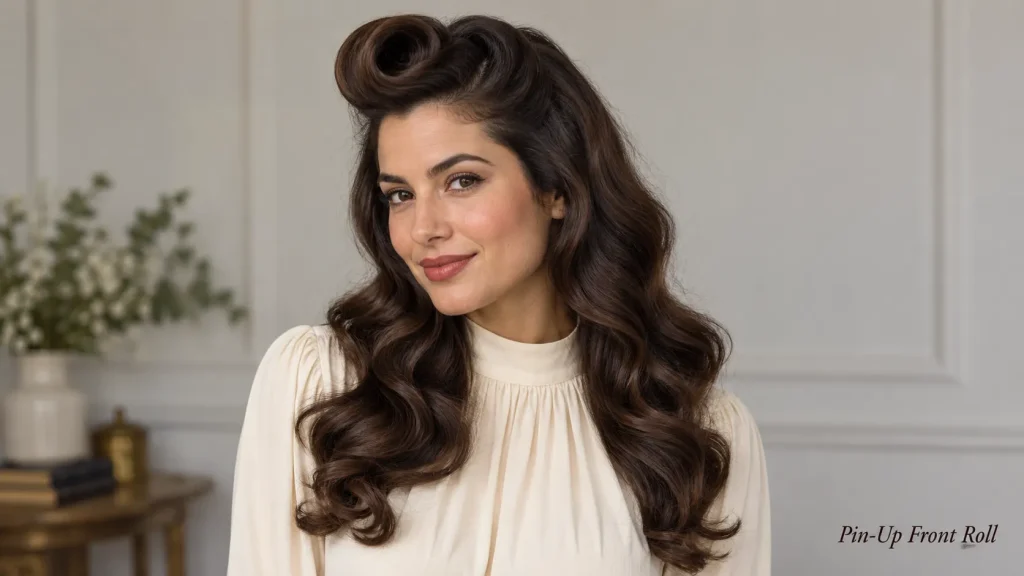
Pin-Up Front Roll
Inspired by 1940s victory rolls, this style turns the front section into a single smooth roll, while the rest of your hair stays down.
Take a rectangular section from your hairline back to just before the crown. Tease the underside lightly so the roll has structure. Wrap the ends around two fingers and roll back toward the scalp, then slide your fingers out and pin the roll from both sides where it meets your head.
Getting the roll even can take a few attempts. If it collapses, more teasing underneath usually helps more than extra hairspray. Pair it with flipped-out ends or soft waves for a playful vintage feel.
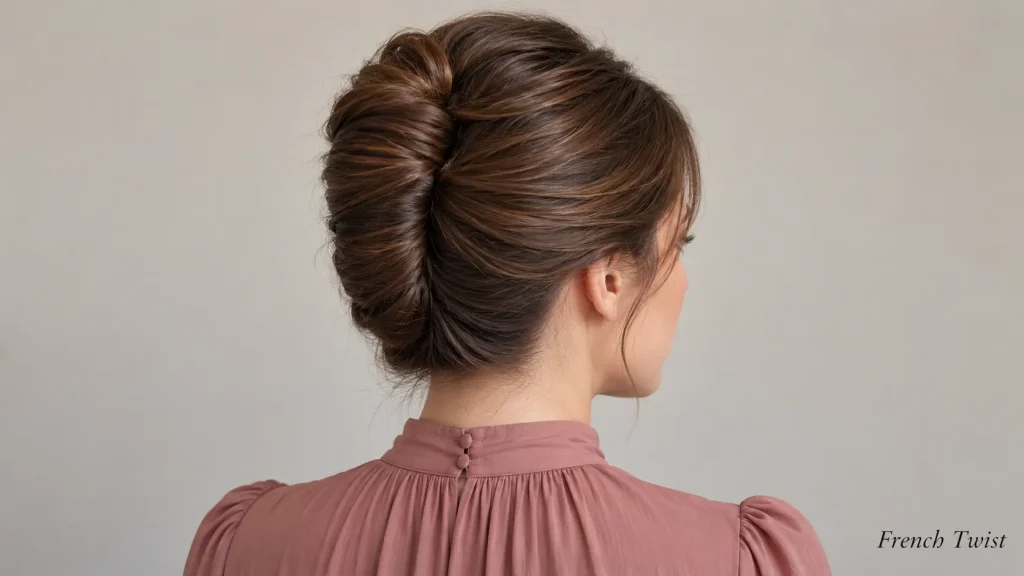
French Twist
Gather your hair at the back as if making a low ponytail, but hold it in your hand instead of using an elastic. Twist it upward, tucking the ends inside the roll as you go, and pin along the vertical seam.
Long hair can make the twist bulky. A little teasing at the back first gives the pins something to grip, and folding very long ends back into the roll keeps it tidy. How many pins you need, and where, depends on your hair’s thickness and texture, so expect some trial and error at first.
Pulling out a few pieces around the face softens the shape for less formal occasions.
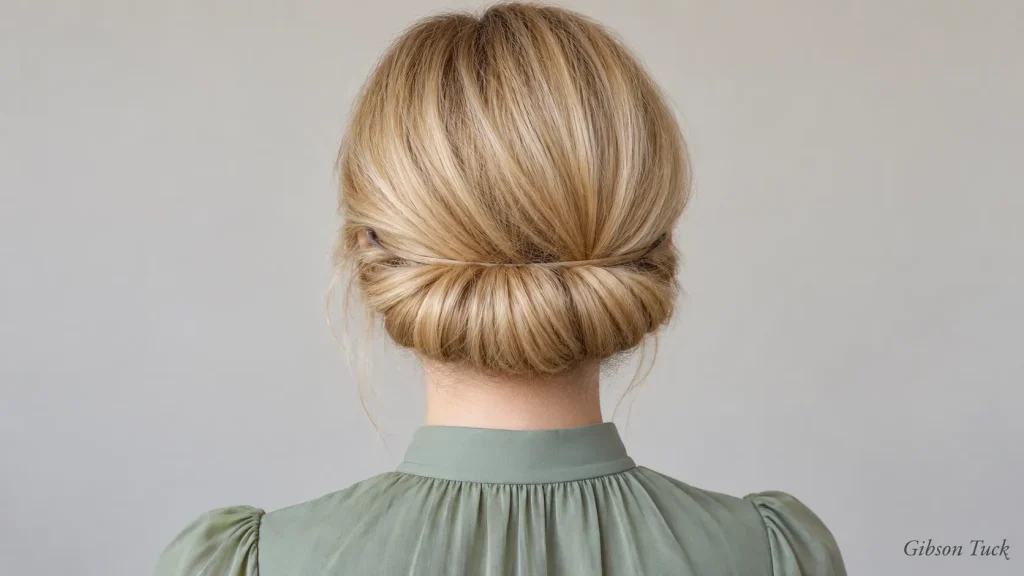
Gibson Tuck
For this one you need a stretchy elastic headband, the kind that sits flat around the head.
- Brush your hair down and place the headband over it, sitting across the forehead or hairline at the front and over the hair at the back.
- Starting near one ear, take a small section and tuck it up and under the band at the back.
- Continue around the head section by section, tucking each one under the band.
- Once all the hair is tucked, adjust the roll so it looks even and pin any loose ends.
The finished style is a soft roll sitting along the nape. On very long hair the roll can get heavy, so wrap the ends around the band more than once before tucking. Second day hair is easier to work with here because it has a bit of natural grip, while freshly washed hair tends to slide out from under the band.
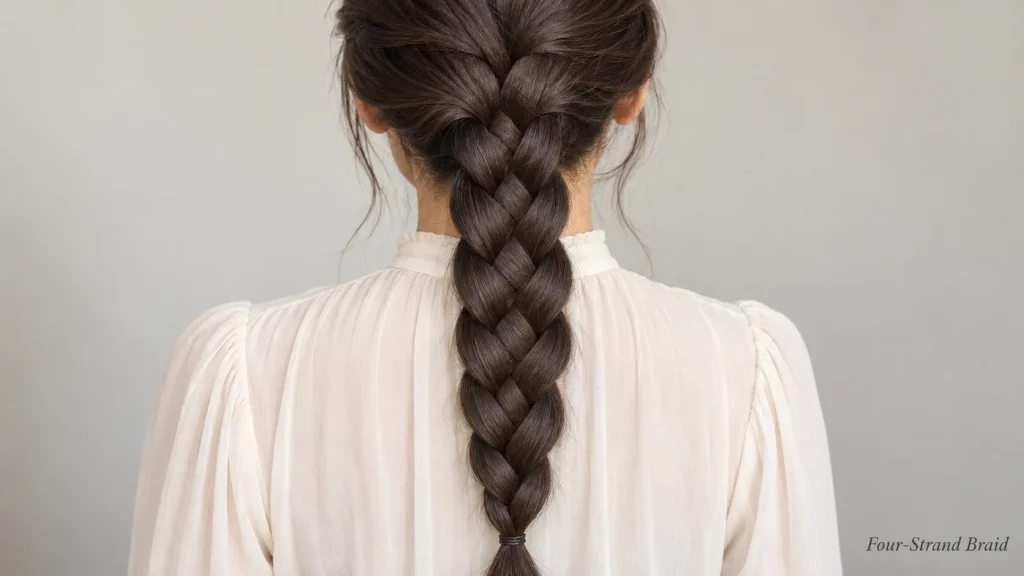
Four-Strand Braid
This braid looks woven and flat, almost like a ribbon. It’s confusing at first, mainly because the strands keep changing places. The trick is to work by position, not by strand.
Divide your hair into four equal sections. Call them positions one to four, from left to right. Then repeat these three moves:
- Take the strand in position one and cross it over the strand in position two.
- Take the strand in position four and cross it under the strand in position three.
- Cross the two middle strands, taking the right middle over the left middle.
After each round, simply renumber the strands one to four from left to right based on where they now sit, and repeat. Keep going until you reach the ends, then secure with an elastic.
Practicing on a hair tie wrapped around a doorknob, or on four pieces of yarn, can help your hands learn the pattern before you try it on your own head. Once finished, gently pulling the outer edges makes the braid look wider.
A Few Practical Notes Before You Start
Detangle from the ends up. Brushing from root to tip through knots can snap long hair. Start at the bottom and work upward in small sections.
Match the product to the finish. Sleek styles do well with smoothing cream. Textured ones, like the teased crown or beach waves, hold better with dry shampoo or texture spray.
Pick your pins for the job. Bobby pins grip tightly, which suits small sections and flat areas. U-shaped pins can be handy for securing larger rolls without squashing them, though plenty of people use both depending on the style.
Mistakes That Make Long Hair Harder to Style
Skipping heat protection. Long hair usually needs more sections during heat styling, and the ends may already be weathered compared with newer growth. A protectant spray is an easy step to forget.
Adding too much product at once. Long lengths can look weighed down quickly. Build up gradually instead.
Using heat on damp hair. Make sure hair is fully dry before using a flat iron.
Wearing the same tight style day after day. Repeated tension in one spot can stress the hairline. Alternating tight styles with looser ones is gentler.
Inserting pins the wrong way. Pins usually hold best when slid in against the direction the hair lies, then pushed flat toward the scalp.
Frequently Asked Questions
How often should long hair be trimmed?
There’s no single schedule that suits everyone. Hair that’s colored, heat styled often, or prone to splitting may need more regular trims, while healthy hair being grown out can often go longer between appointments. A stylist can look at your ends and suggest a timeframe.
Which of these are easiest for beginners?
The inside-out low ponytail and hair cuff accent strands need no special skill or tools. Mistakes are easy to undo, so they’re a relaxed place to start.
My arms get tired styling long hair. Any tips?
Sit down at a table with your elbows resting on it while you work, and take short breaks between sections. Doing the back sections first, while your arms are fresh, also helps.
How do I stop bobby pins from sliding out?
A light mist of hairspray or a little dry shampoo on the pins before inserting them gives them extra grip. Opening the pin slightly before sliding it in, and anchoring it into a small area of teased hair, can also help it stay put.
Do these styles work on curly long hair?
Many of them do. The French twist and Gibson tuck often hold well on curly hair because of its natural grip, and shingled curls are made specifically for it. With heat styles like beach waves or flipped ends, consider whether you want to change your natural pattern for the day, since frequent heat can affect curls over time.
Final Thoughts
You don’t need to master all eleven at once. Choose one quick style for busy days and one slower style to practice when you have a free hour. After a few attempts, the steps start to feel automatic, and that’s when hairstyles for long hair stop feeling like a project and start feeling like options.