Nail Art Designs: 16 Ideas You Can Actually Try at Home
You save a gorgeous manicure to your phone, gather your polishes, and sit down feeling confident. Forty minutes later, there’s polish on your cuticles, one nail is smudged, and the “simple” design looks nothing like the photo.
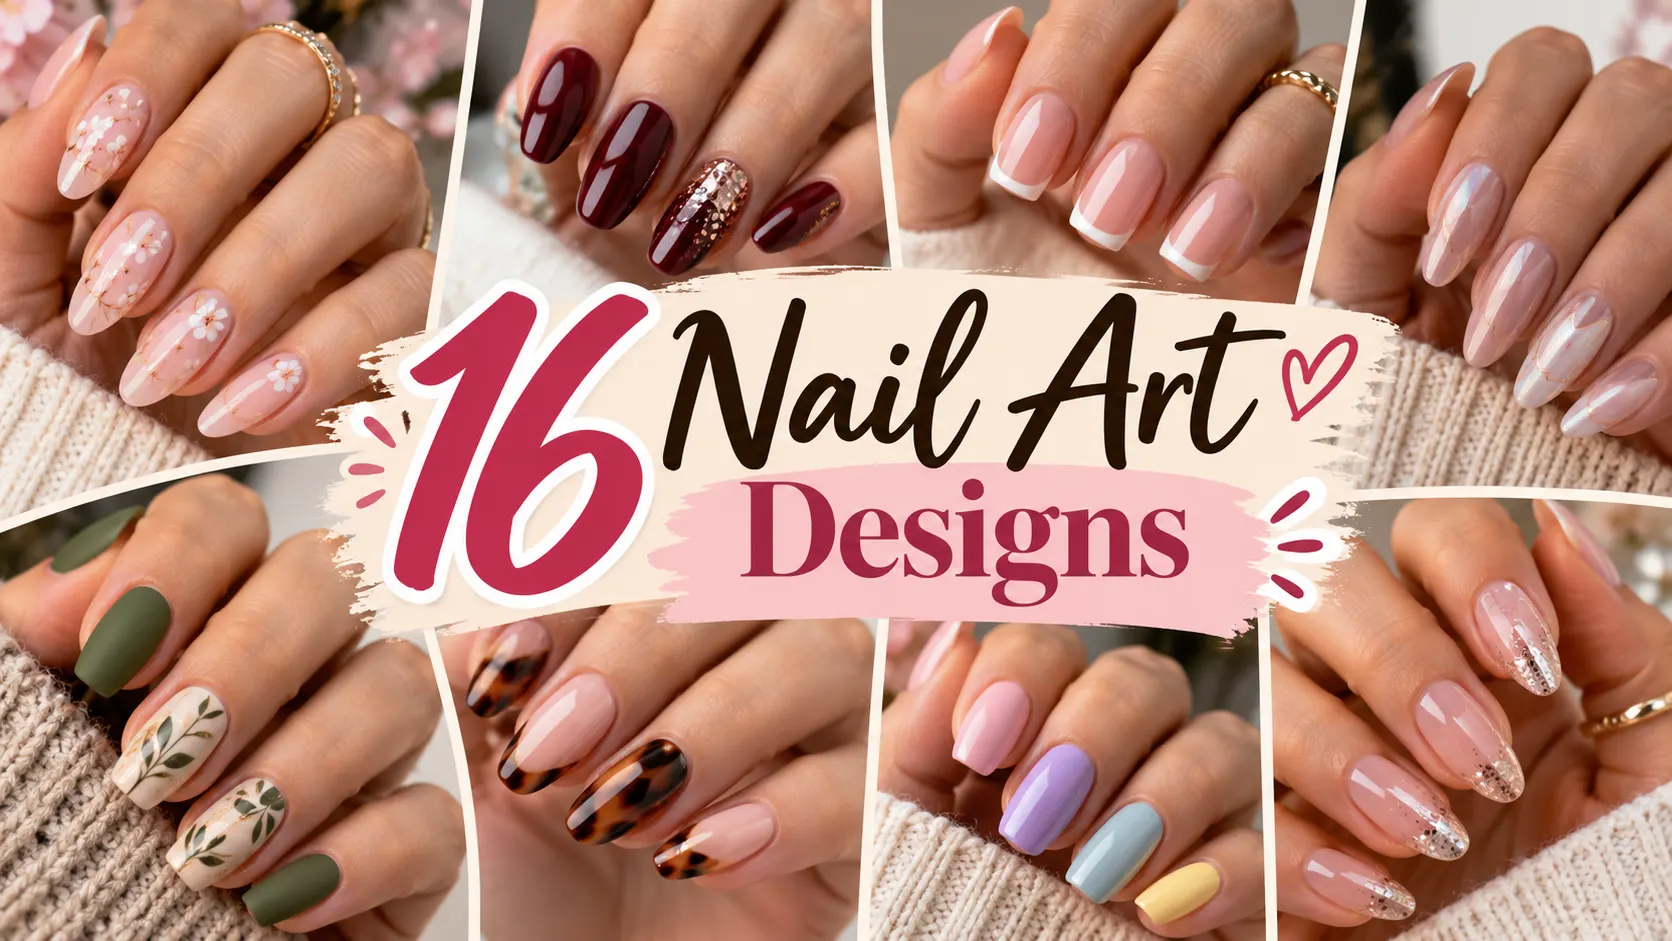
It happens to almost everyone who starts painting their own nails. The good news is that most nail art designs look complicated but come down to a few repeatable techniques: dots, lines, tape, sponges, and a steady top coat.
This guide gathers 16 nail art designs, grouped from easiest to more detailed, with notes on what each one needs and where people usually go wrong. Before getting into the designs, though, a few minutes of prep can make every one of them easier.
Prep First: The Part Nobody Shows on Social Media
Clean, smooth nails make any design look better, and they help polish stay on longer. These steps take about ten minutes.
Shape and smooth. File your nails in one direction to reduce snagging, and gently buff any ridges.
Push back cuticles. A cuticle pusher or orange stick after a warm shower works well. Many people prefer not to cut cuticles at home, since that can lead to irritation.
Wipe the nail plate. Rubbing alcohol or nail polish remover on a cotton pad removes oils so the base coat grips better.
Always use a base coat. It helps prevent staining from darker shades and gives the color something to cling to.
Work in thin layers. Two or three thin coats usually dry faster and smoother than one thick coat.
Keep a small brush dipped in remover nearby for cleaning up edges. It’s often the difference between a homemade look and a salon-like finish.
A simple starter kit covers most of what follows: a base coat, a glossy top coat, a few polishes you love, striping tape, a makeup sponge, and something to make dots with. Prep matters even more for detailed nail art designs, since every bump or ridge tends to show once tape and dots go on.
Beginner-Friendly Nail Art Designs
These designs need little more than polish, a few household tools, and some patience. If you’re new to nail art, starting here builds confidence quickly.
A Colored French Tip
The classic French manicure gets a fresh update when the tip is a soft color instead of white. Think sage green, lilac, terracotta, or baby blue over a sheer pink or nude base.
The easiest method is to place a strip of tape or a curved guide sticker just below the tip, paint the exposed edge, and peel the tape while the polish is still slightly wet. A thin tip tends to look neater than a thick one, especially on shorter nails.
Simple Polka Dots
Polka dots are one of the friendliest nail art designs for beginners, and you don’t even need special tools. The rounded end of a bobby pin or the tip of a toothpick works as a dotting tool.
Pour a small drop of polish onto a piece of foil, dip your tool, and press gently onto a dry base. Try white dots on navy, black dots on nude, or multicolored dots on a pale base for something playful.
Keeping dots evenly spaced is easier if you start in the center of the nail and work outward.
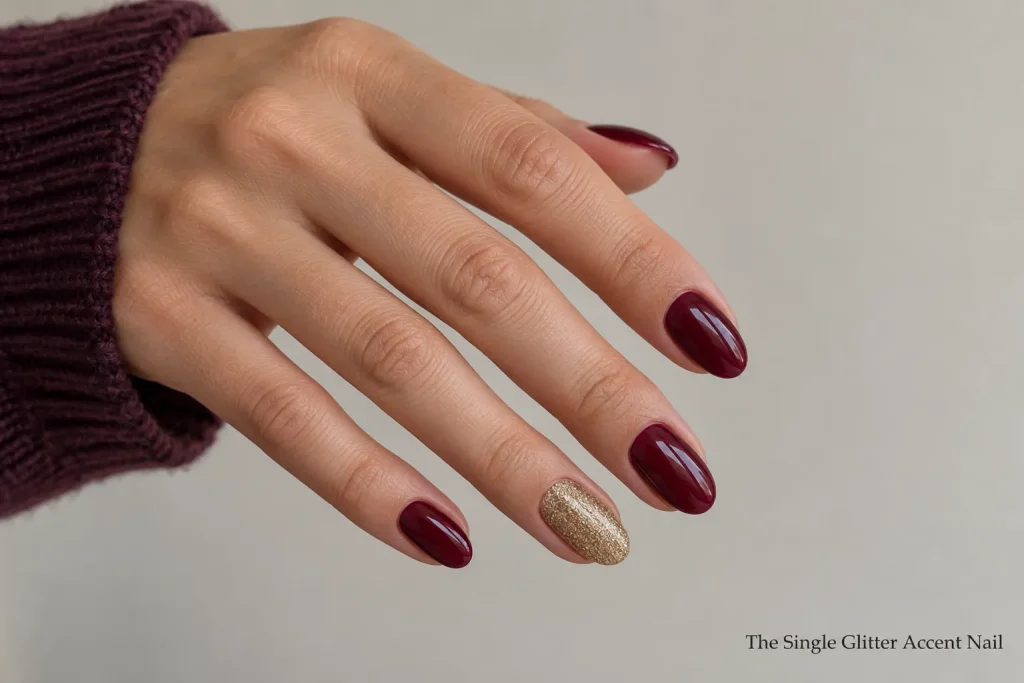
The Single Glitter Accent Nail
If you want sparkle without a full glitter manicure, paint all your nails one shade and add glitter to just the ring finger.
This approach is also forgiving. Glitter hides small imperfections, and an accent nail draws attention away from any less-than-perfect polish elsewhere. Gold glitter over a deep burgundy or silver over gray both look elegant.
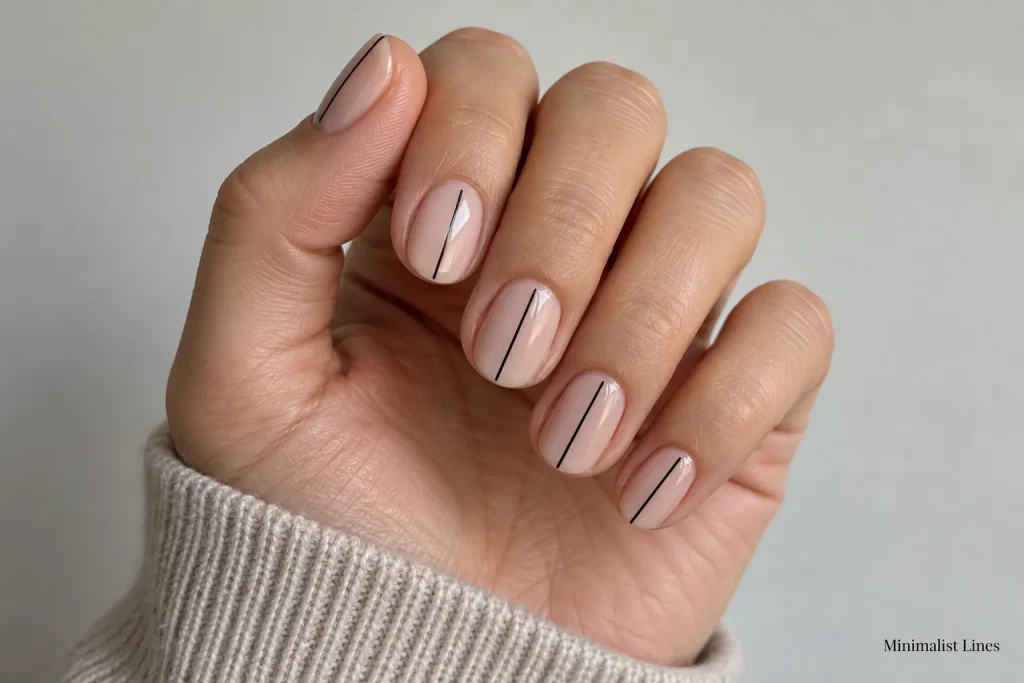
Minimalist Lines
A single thin line can turn plain nails into something deliberate. Vertical lines down the center, a small horizontal stripe near the base, or a curved line across the tip all fall into this category.
Striping tape gives the cleanest result for beginners. Lay it on a fully dry base, paint over it, and remove it carefully before the top layer dries. A fine striping brush is useful once you feel steadier.
Half-Moon Nails
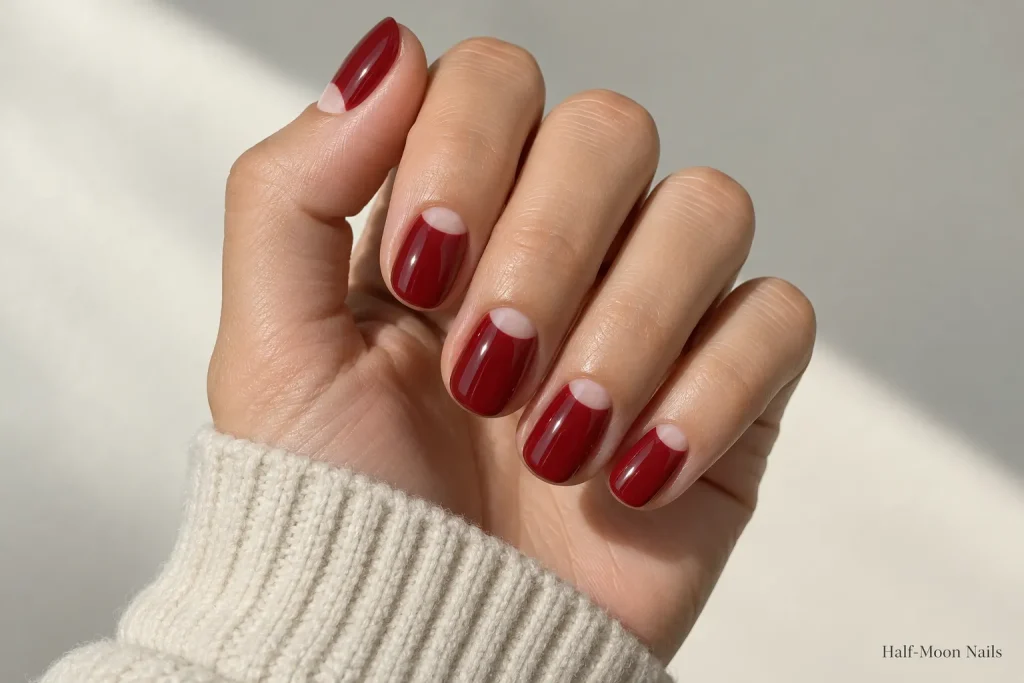
Half-moon designs leave a crescent shape bare or in a contrasting color near the cuticle. They have a vintage feel that works on both short and long nails.
Round hole-reinforcement stickers from an office supply drawer make handy guides. Place one at the base of a dry nail, paint over the rest, and peel it off. Nude with a deep red, or white with black, makes a striking pair.
Nail Art Designs for When You’re Ready for More
Once you’re comfortable with dots and tape, these designs add new techniques like sponging, blending, and freehand detail. None require professional training, just a bit more time.
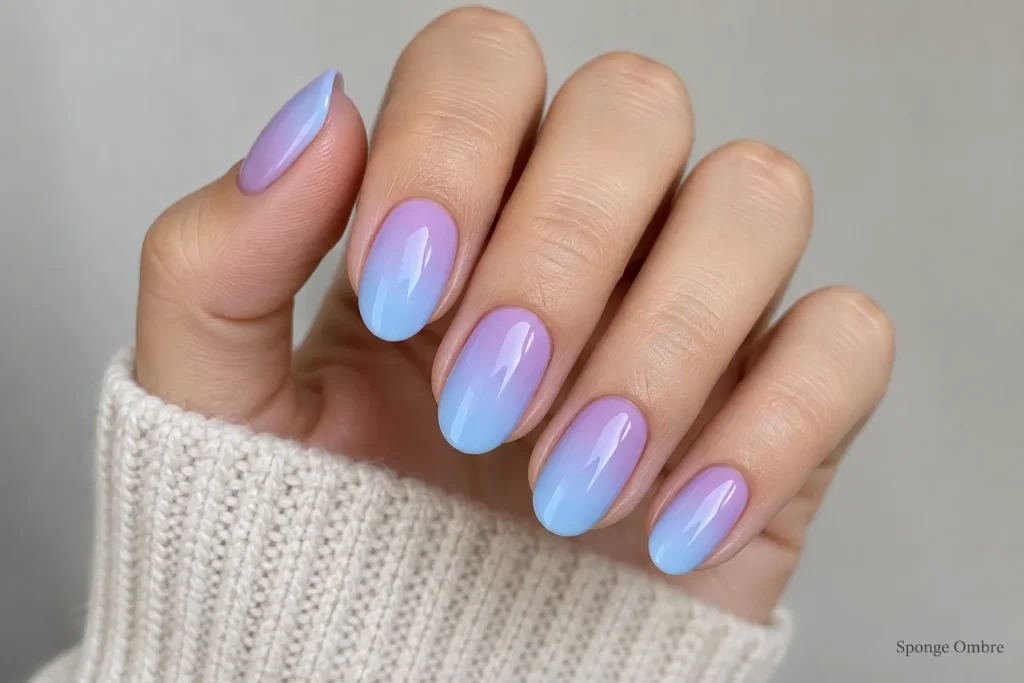
Sponge Ombre
Ombre nails blend two or three colors from the base to the tip. A makeup sponge is the main tool here.
Paint stripes of two shades next to each other on the sponge, dab it onto the nail, and repeat a few times to build color. Painting liquid latex or a peel-off barrier around the nail first makes cleanup much easier. A glossy top coat smooths the slightly textured finish.
Pink to coral, lavender to blue, and nude to white are all popular pairings.
Dry Marble Effect
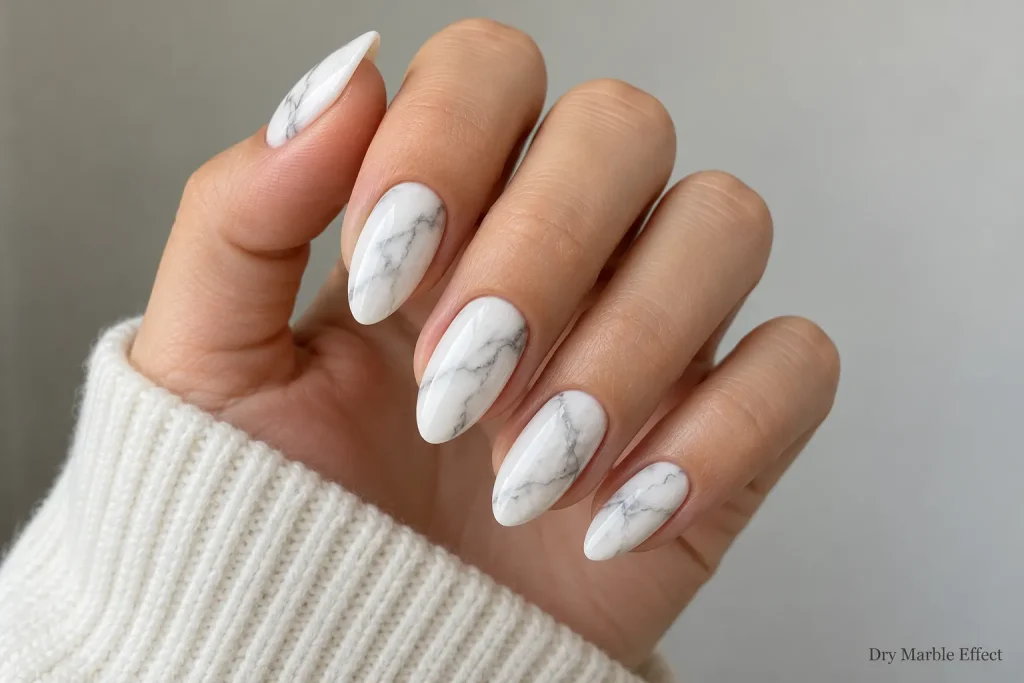
Water marbling can be messy, so many people prefer a “dry” marble method instead. Paint a white base, add a few small dots of gray or black, then use a thin brush lightly dampened with top coat to drag and feather the color into veins.
The trick is to keep movements loose. Real marble isn’t symmetrical, so slightly random lines usually look more convincing than careful ones.
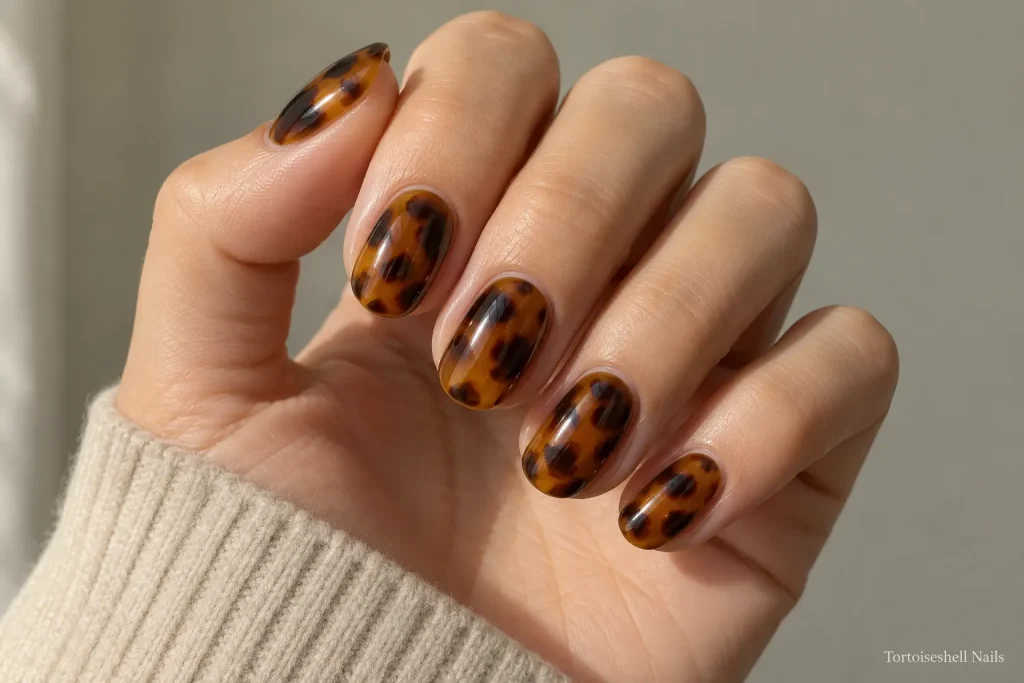
Tortoiseshell Nails
Tortoiseshell has a warm, cozy feel that suits autumn and winter. Start with a sheer amber or honey-colored polish, add irregular blobs of brown, then apply another sheer layer and add smaller, darker spots on top.
The layering creates depth. Using a jelly or sheer polish, rather than an opaque one, is what gives this design its glassy look.
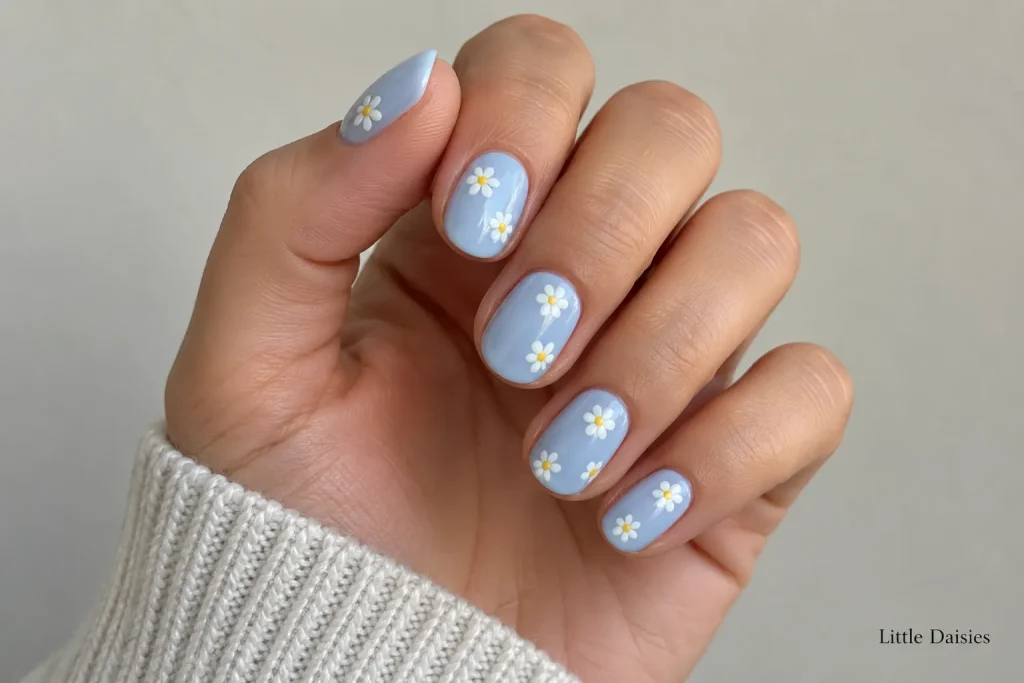
Little Daisies
Floral designs sound intimidating, but daisies are mostly dots. Place five white dots in a circle with a dotting tool, then add a yellow dot in the center.
Scatter one or two flowers on each nail, or keep them to an accent nail. Daisies look fresh on pale blue, soft green, or a clear base for a natural nail feel.
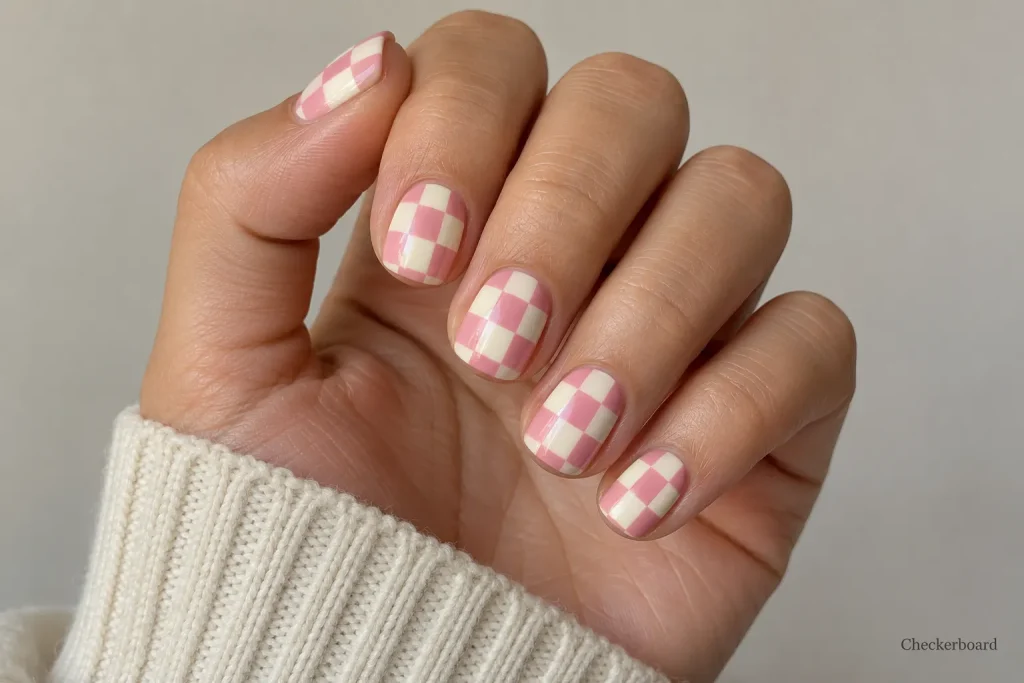
Checkerboard
Checkerboard nails have a fun, retro look. Use striping tape to create a small grid, or freehand squares with a thin brush if your hands are steady.
Black and white is the classic pairing, but pastel combinations like pink and cream or sage and white feel softer. For a subtler version, try the checkerboard only on the tips.
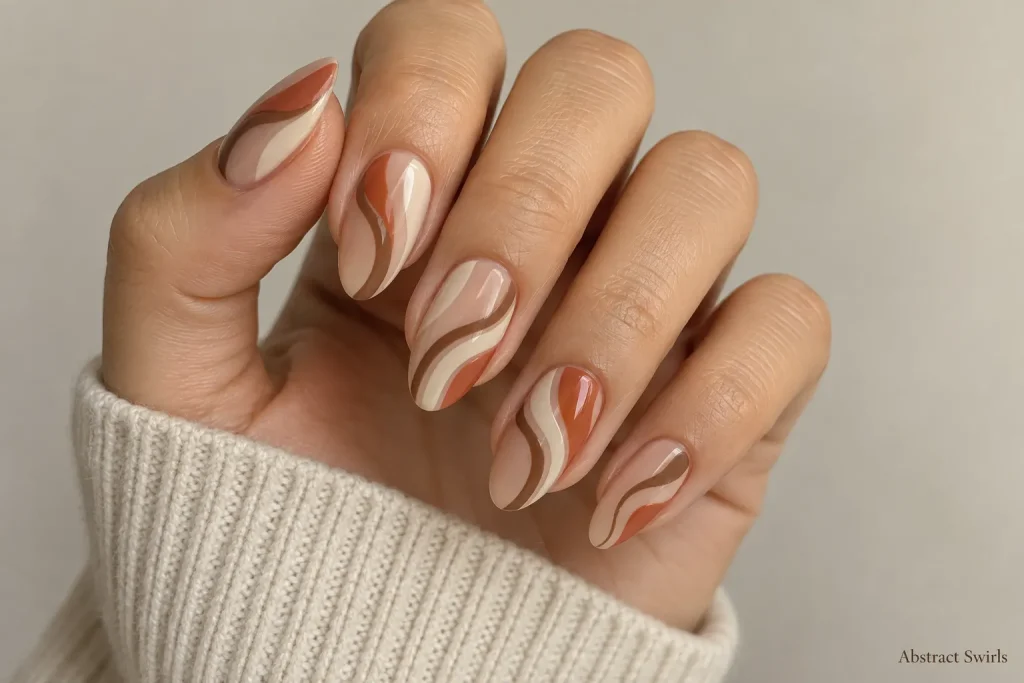
Abstract Swirls
Swirl nails are relaxed and forgiving, which makes them a nice step into freehand work. Use a fine brush to paint flowing, wavy lines in two or three colors across a neutral base.
The lines don’t need to match from nail to nail. Overlapping colors and slightly uneven curves are part of the appeal.
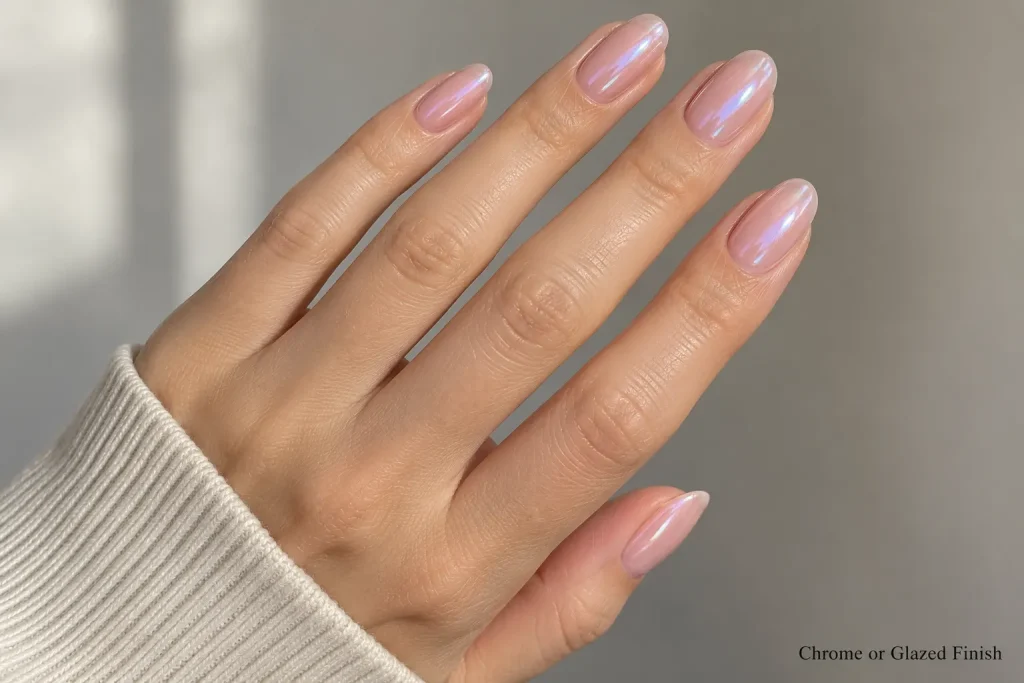
Chrome or Glazed Finish
Chrome and glazed finishes give nails a reflective, almost pearly shine. They’re usually created with a fine chrome powder rubbed over a cured gel top coat, though some regular polish formulas now offer a similar effect.
If you use gel products, follow the instructions for your specific lamp and products, and work in a well-ventilated space. A soft pink or milky white base gives the popular glazed look.
Seasonal and Statement Nail Art Designs
These designs lean into holidays, seasons, or special occasions. They can take a little longer, but they’re great for events, photos, or when you just want something different. Practicing on one nail first is a low-pressure way to test a new technique.
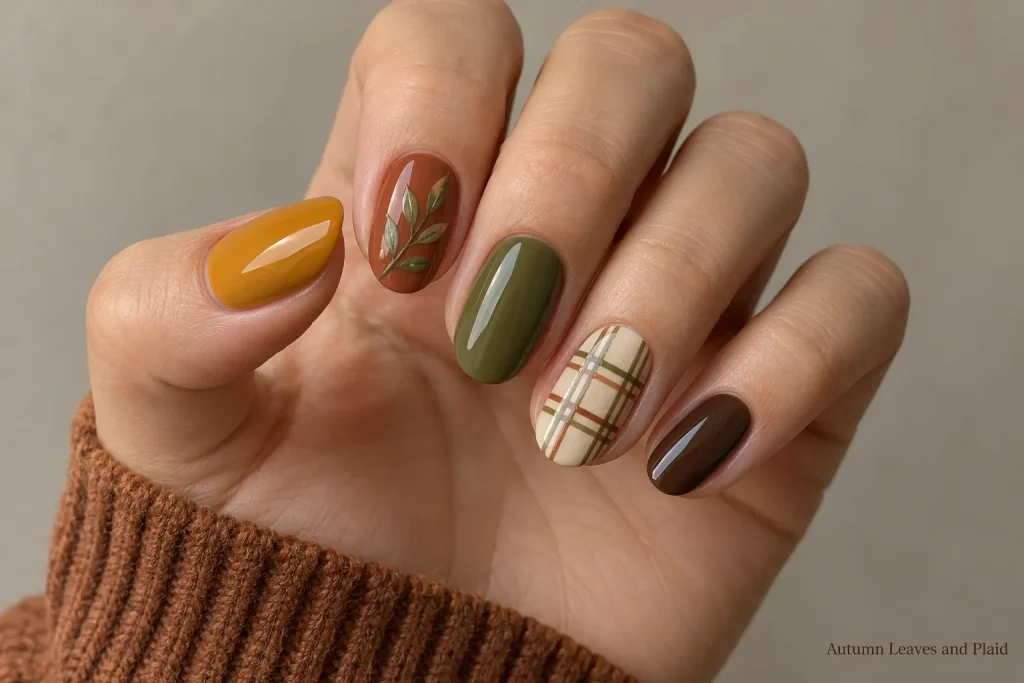
Autumn Leaves and Plaid
Fall is a favorite time for warm tones like rust, mustard, olive, and deep brown. Simple leaf shapes can be made with a teardrop stroke and a thin line through the middle.
For plaid, layer thin vertical and horizontal stripes of two or three colors over a base shade. Mixing a plaid accent nail with solid nails keeps the overall look from feeling too busy.
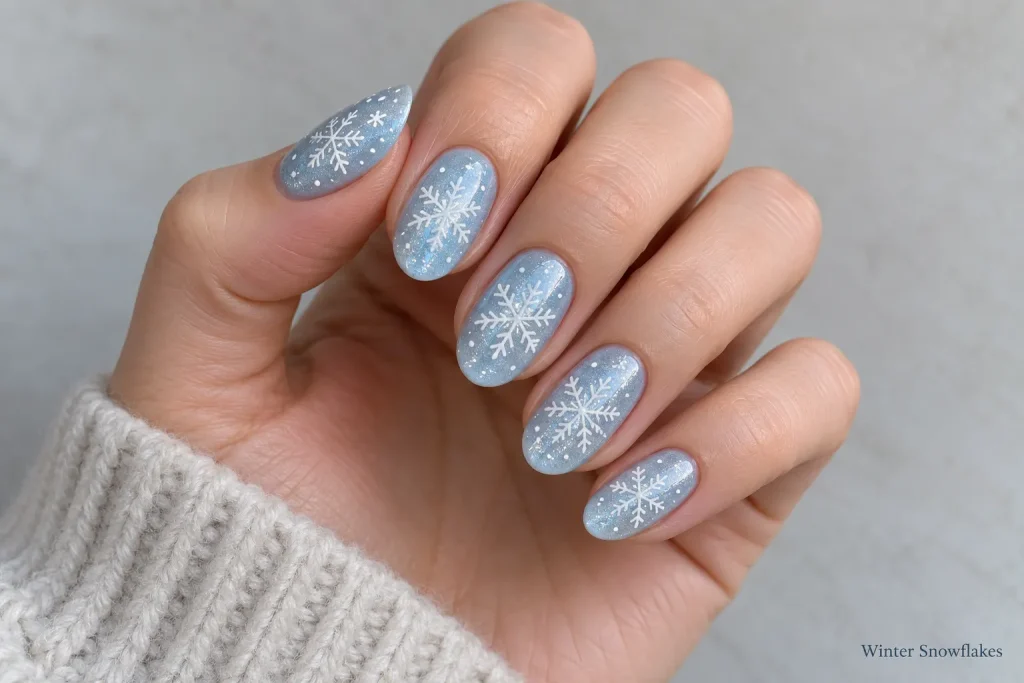
Winter Snowflakes
Snowflakes are easier than they look. Paint three crossing lines with a thin brush, then add small “V” shapes at the ends of each line.
White snowflakes on icy blue, navy, or silver feel festive without being too themed. Adding a fine glitter top coat can give a frosty finish.
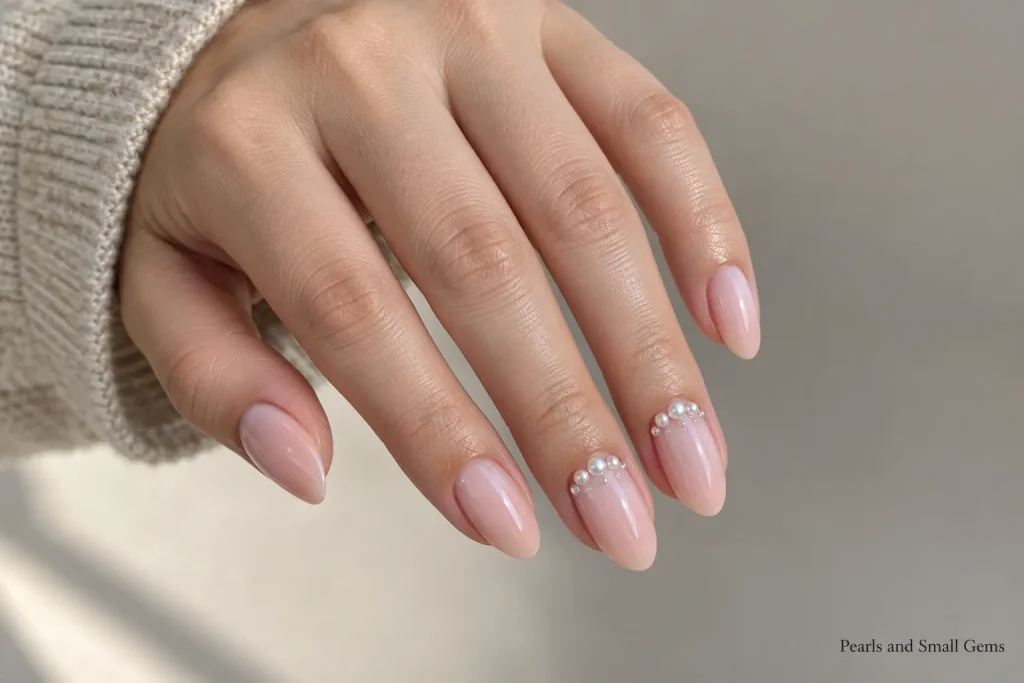
Pearls and Small Gems
For weddings, parties, or holidays, small flat-back pearls or rhinestones add a three-dimensional touch. Place them with tweezers or a wax pencil onto wet top coat or a dot of nail glue, then seal around them carefully.
Keeping gems to one or two nails, or near the cuticle, often looks more refined than covering every nail. It also makes daily tasks easier.
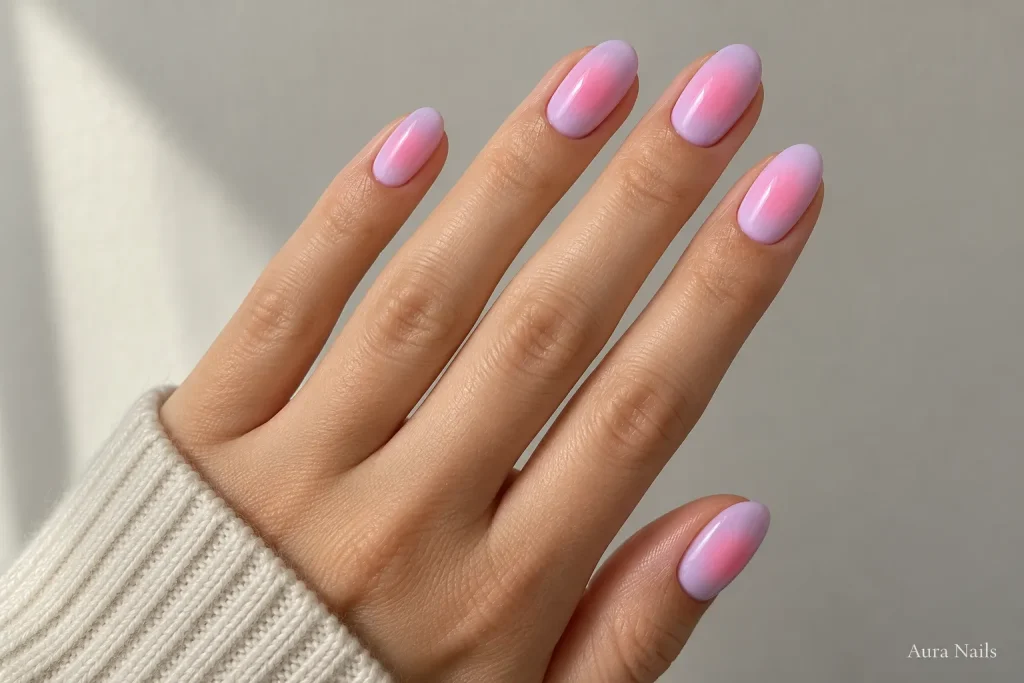
Aura Nails
Aura nails have a soft glow of color in the center of the nail that fades outward. The look resembles an airbrushed gradient.
At home, you can recreate it by dabbing a small amount of color in the center of a contrasting base with a sponge, then softening the edges. Pink inside lilac, or orange inside soft yellow, gives a warm, dreamy effect.
A Few Mistakes That Ruin Good Designs
Most problems with nail art designs come from the same handful of habits, and almost all of them are easy to fix.
Painting thick layers. Heavy coats take longer to dry and smudge easily. Thin layers are almost always easier to work with.
Starting the design too soon. Tape and stickers can pull up the base if it isn’t fully dry. Giving each layer extra time usually saves frustration.
Skipping the top coat. A top coat seals the design, adds shine, and helps prevent chipping. Reapplying it every few days may help the manicure last longer.
Using old or thick polish. Polish that has thickened in the bottle is hard to apply smoothly. Some polish thinners can help, though replacing very old bottles is often easier.
Forgetting the free edge. Running the brush lightly along the tip of the nail, called capping, can help reduce chipping at the edges.
Making Your Manicure Last Longer
A lovely design is more satisfying when it lasts through the week. Nail art designs with gems, chrome, or lots of layers may need a little extra care, since raised details can catch on fabric and hair.
Wearing gloves for dishes and cleaning helps protect polish from hot water and chemicals. Applying a thin layer of top coat every two or three days can refresh shine. Moisturizing hands and cuticles regularly also helps nails look healthier overall.
If you notice irritation, redness, or discomfort after using any nail product, stopping and speaking with a doctor or dermatologist is a sensible step.
Choosing a Design That Suits Your Day
Not every design fits every occasion. A few quick examples:
For a busy work week, minimalist lines, a colored French tip, or half-moons look neat and low-maintenance. For a weekend brunch or birthday, daisies, checkerboard, or swirls feel fun. For weddings or holidays, pearls, chrome, or seasonal designs make the manicure part of the outfit.
If you like having options ready, saving two or three nail art designs from each group in this list gives you quick ideas for whatever the week brings.
Nail length matters too. Shorter nails often suit dots, small accents, and simple lines, while longer nails give more room for ombre, marble, and detailed patterns.
Frequently Asked Questions
What are the easiest nail art designs for beginners?
Polka dots, a single glitter accent nail, half-moons, and taped French tips are usually the easiest starting points. They rely on simple tools and don’t require freehand painting.
Do I need special tools for nail art?
Not necessarily. Toothpicks, bobby pins, tape, makeup sponges, and hole-reinforcement stickers can handle many designs. A dotting tool, striping brush, and cleanup brush are helpful upgrades if you enjoy it.
How long does nail art usually last?
Regular polish designs often last several days to about a week, depending on your daily activities and how well the manicure is sealed. Gel manicures typically last longer.
Can I do nail art on short nails?
Yes. Many nail art designs work well on short nails, especially dots, thin lines, small florals, and minimalist accents.
How do I fix a smudge without starting over?
If the polish is still wet, gently smoothing it with a fingertip dampened with a tiny bit of remover can help. For dry polish, a thin layer of the same color and a fresh top coat can often cover small marks.
Your Next Manicure
The best part about nail art designs is that you can try something new every week. Start with one or two beginner looks, like polka dots or a colored French tip, and move on to sponging, marbling, or freehand flowers once you feel ready.
Keep your prep simple, work in thin layers, and don’t worry if your first attempts aren’t perfect. Most of these 16 nail art designs get noticeably easier after a try or two, and that’s when the fun really begins.