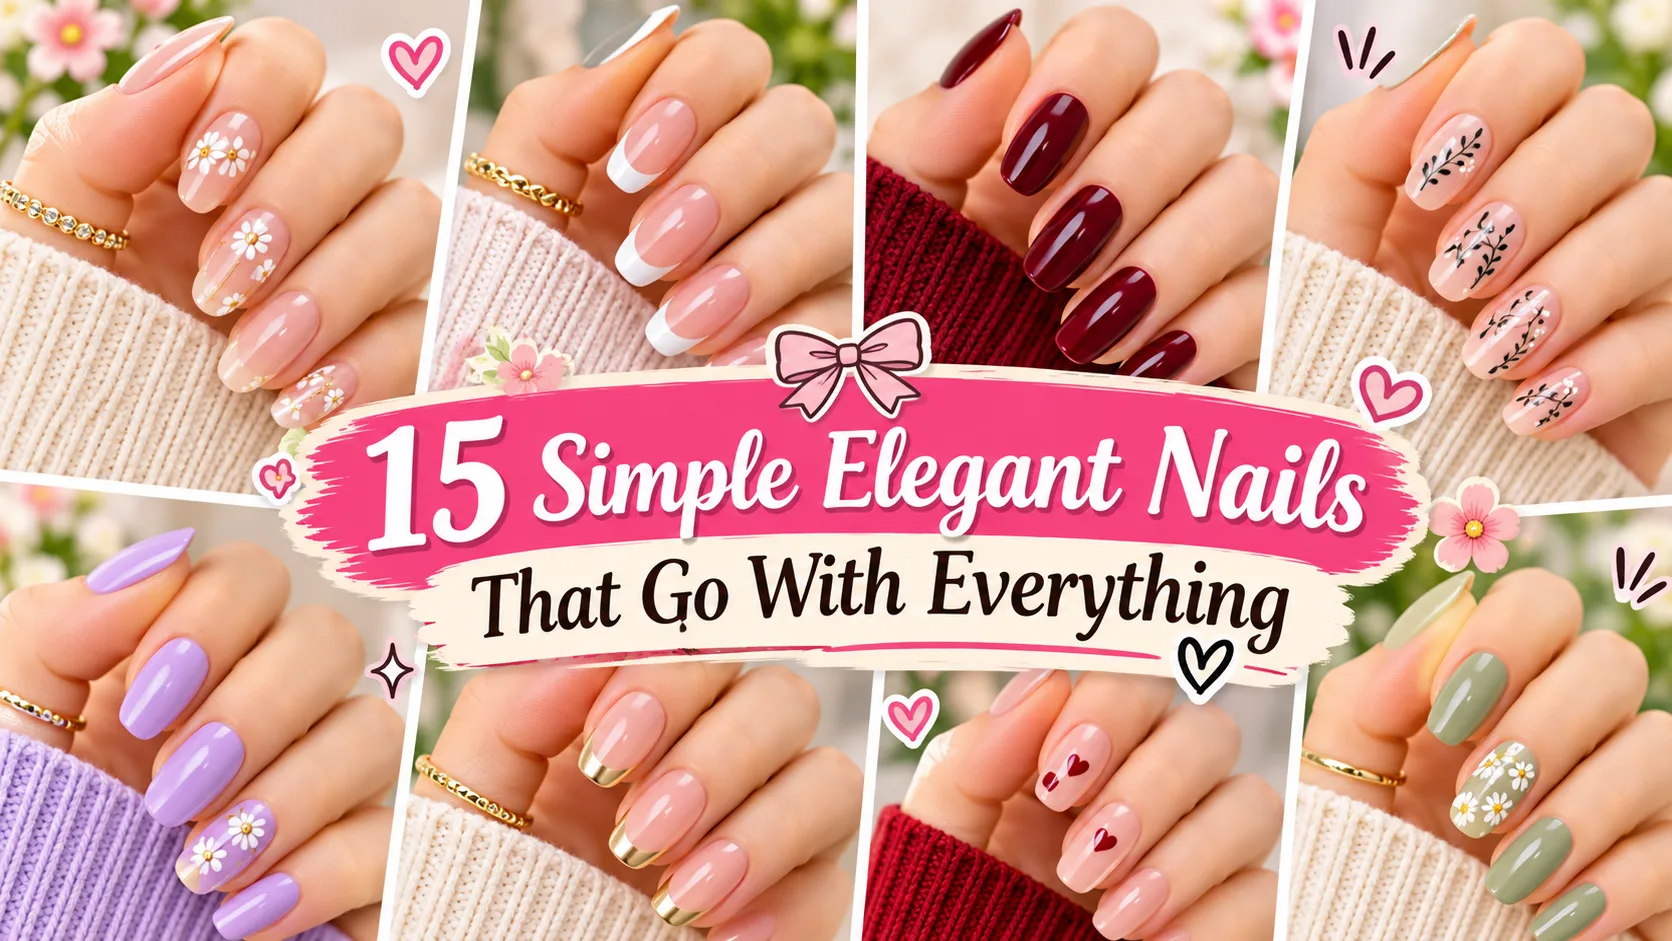
Quietly Polished: 15 Simple Elegant Nails That Go With Everything
Picture two people at the same dinner table. One has long, sparkly nail art with charms and five different colors. The other has short, glossy nails with one thin gold line on each.
Both look nice. But the second manicure is the one people quietly notice. It looks expensive, calm, and completely effortless.
That’s the magic of simple elegant nails. They don’t shout. They look good with a work blazer, a wedding guest dress, or a sweater on a lazy Sunday. And most of them are easy enough to try at home.
The 15 designs below keep things minimal, with one small detail doing all the work. None of them need a nail technician’s training, though a few take a steady hand.
What Makes a Manicure Look Elegant
Before the designs, a few basics matter more than any pattern.
Neat cuticles. Gently push back cuticles after a shower, when the skin is soft. Avoid cutting live skin, which can lead to irritation or infection.
A tidy shape. Short to medium oval, almond, and squoval shapes are popular choices for a polished look. Use a fine-grit file with gentle strokes, since rough or heavy filing can lead to splitting.
Clean edges. Use a small brush dipped in remover to tidy any polish on the skin. This one step makes even a basic manicure look professional.
A glossy or deliberate finish. A good top coat makes color look richer and helps it last.
Get these right, and nearly any design looks more polished.
A Small Kit for Simple Elegant Nails
You don’t need much to try most of these designs:
- A good base coat, plus a glossy and a matte top coat
- Two or three neutrals and one deeper shade
- A gold or silver polish, metallic nail tape, or nail foil with transfer adhesive
- A fine liner brush and striping tape
- A small cleanup brush and remover
A thin liner brush is the most useful tool here. Many designs rely on one fine line, and a short-bristled brush gives far more control than the brush in the bottle.
Barely-there details (five designs): one tiny accent, lots of breathing room.
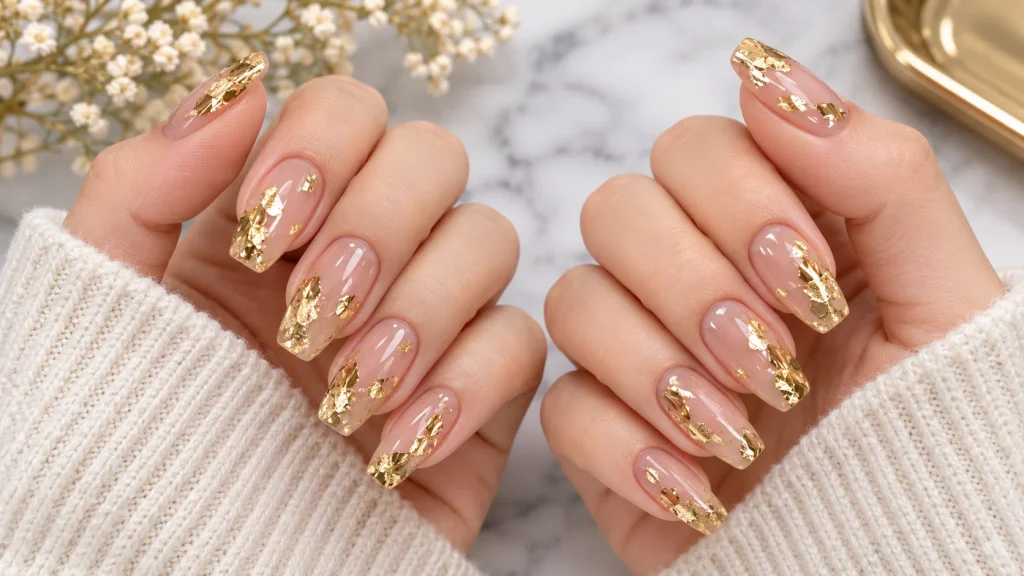
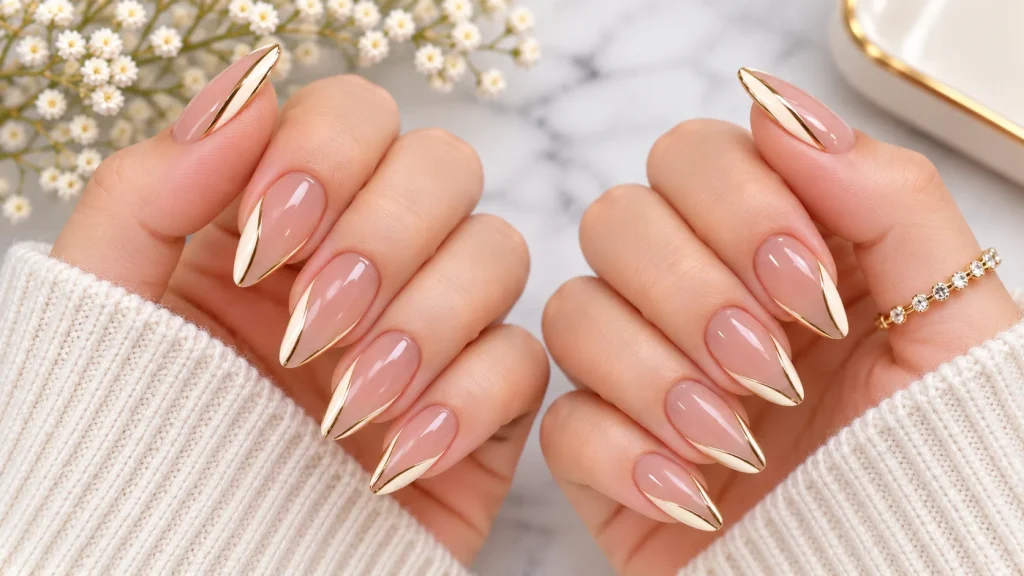
Floating Gold Foil Bar
A single short strip of gold foil, floating horizontally across the middle of each nail, looks modern and very refined.
How to do it: Paint a sheer nude or soft pink base. Apply a thin strip of metallic nail tape, or use nail foil with its recommended transfer adhesive. Position it across the middle of the nail and seal it with a compatible top coat.
Keep the bar short so it “floats” with space on either side. It looks especially lovely on almond nails. For a softer version, use rose gold on a pale pink base, or silver on a gray-beige base.
Wear it to: the office, dinners, or as a wedding guest.
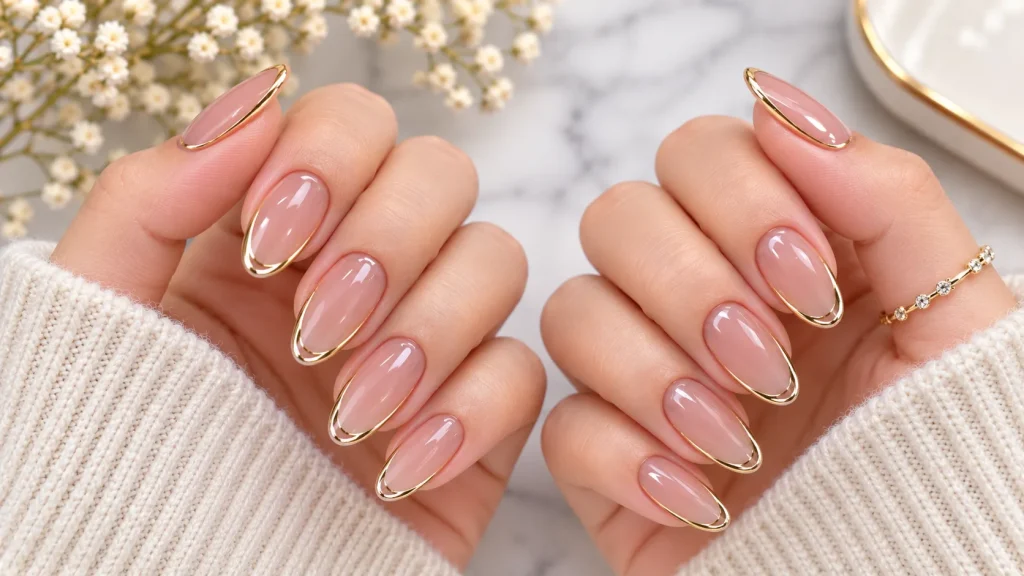
Fine Outline Frame
This design traces the tip and both sides of each nail with a very thin line, leaving the center bare or sheer.
Use a fine liner brush and a muted color like taupe, burgundy, or gold. Paint a thin line just inside the edges of the nail, following its natural shape.
It looks a little like a picture frame, and it suits short nails beautifully. A burgundy outline on a sheer nude base is a lovely choice for autumn, while soft gold feels lighter for spring and summer.
If the sides feel tricky, start by outlining just the free edge, then add the side lines once you’re comfortable.
Negative-Space Side Stripe
Negative space means leaving part of the nail bare or clear on purpose.
Paint most of the nail in a quiet color, like dusty rose, sage, or charcoal, and leave a thin vertical strip of bare nail along one side. Striping tape makes the clean edge much easier.
Place the stripe on the same side of every nail for a neat, uniform look, or mirror it on each hand for balance. It’s subtle, but it has a very modern, graphic feel.
Apply a clear base coat first, so the bare section still has protection and shine.
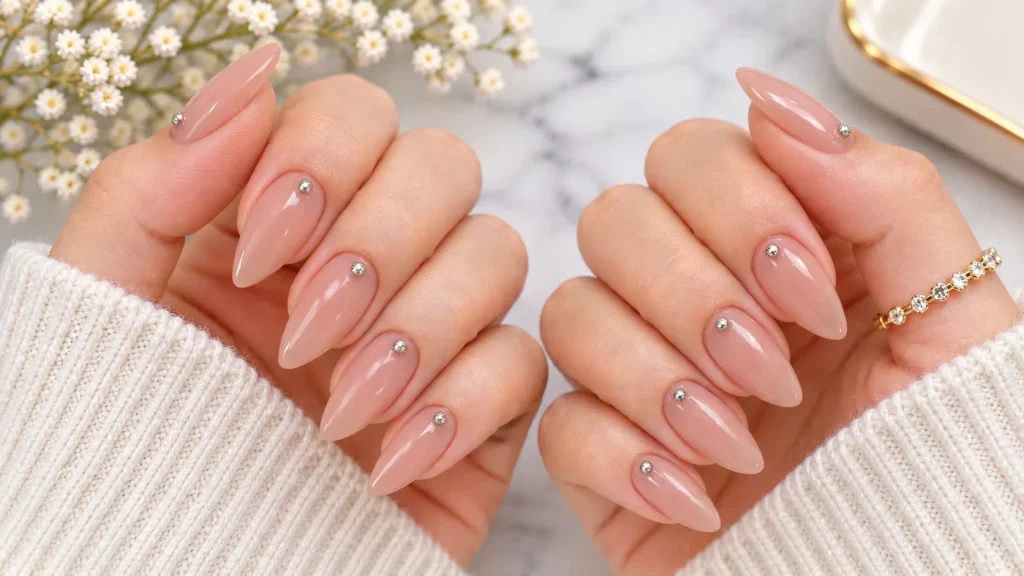
Single Metal Stud at the Cuticle
One tiny gold or silver metal stud, placed right at the center of the cuticle area, looks like a little piece of fine jewelry.
Secure the stud with a nail-safe adhesive or a suitable gel product, following its application and curing instructions. Avoid skin contact with uncured gel, then seal around the stud. Choose flat, smooth studs rather than tall ones, so they don’t catch on hair or clothes.
Try it on: one accent nail per hand, or on every nail for a slightly bolder look.
Studs can fall off if they’re not sealed well. Check them after a day or two and add a little more top coat if needed.
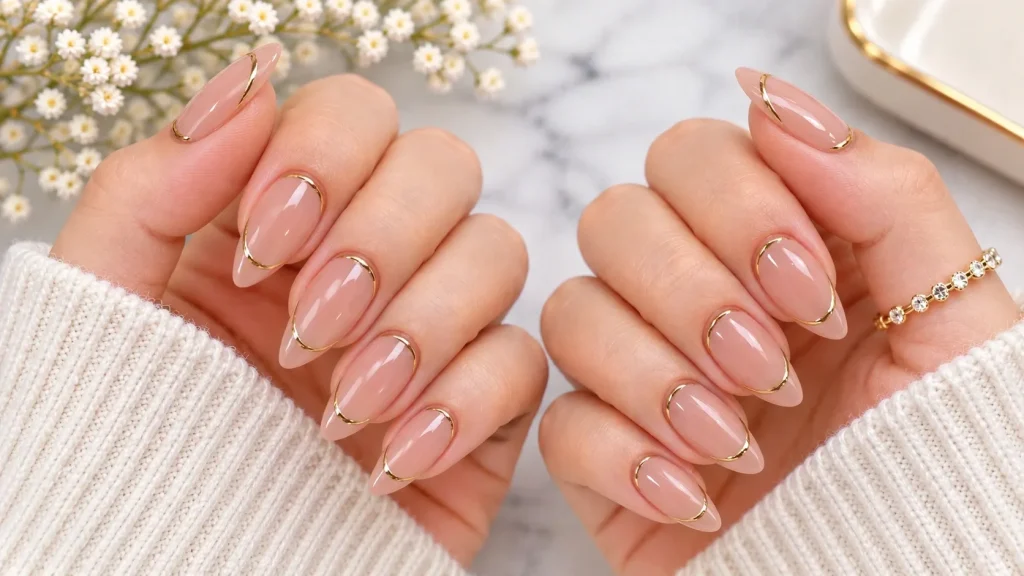
Cuticle Accent Curve
Unlike the outline frame, which traces the edges, this design is a single short curve sitting only in the center of the nail’s base.
Paint a sheer base, then use a liner brush to draw a small curved stroke just above the middle of the cuticle, about a third of the nail’s width, in gold, silver, or a deep shade like espresso.
The short stroke draws the eye to the base without boxing the nail in. Think of it like a tiny flick of eyeliner.
Leave a tiny gap between the line and your skin, so it doesn’t look messy as your nails grow.
Elegant finishes and solids (five designs): let the color and texture do the talking.
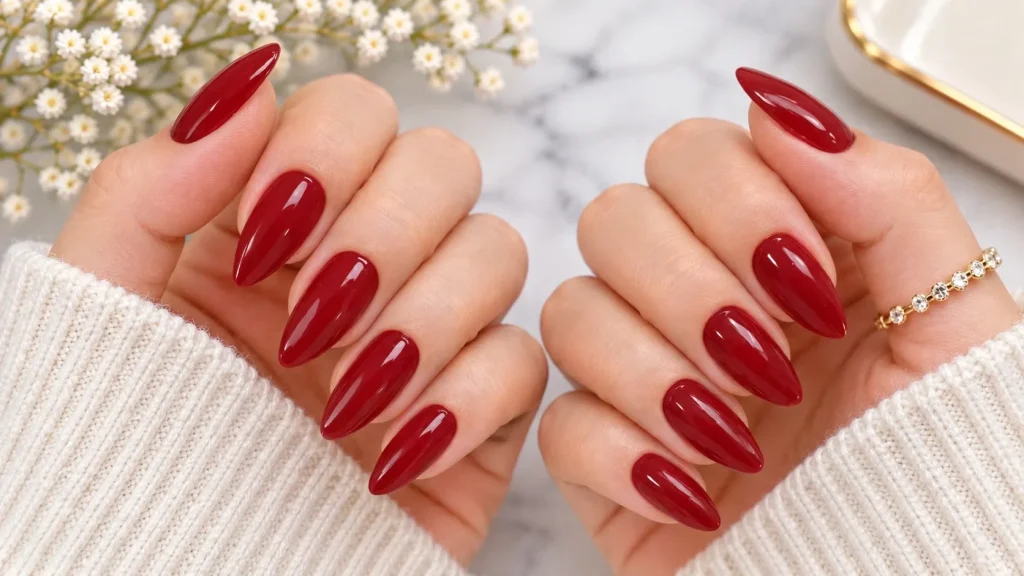
Classic Red, Done Properly
A red manicure is one of the most timeless looks there is. What makes it elegant isn’t the color alone, but how it’s done.
The details that matter:
- A short, rounded squoval shape
- Two thin, even coats
- Clean edges with no polish on the skin
- A glossy top coat applied every few days
Blue-based reds, like cherry or crimson, can look crisp and bright. Brick or tomato reds feel warmer.
Red stains nails easily, so always use a base coat first. If your hands tend to look red or flushed, a slightly orange-leaning red can feel more flattering than a cool cherry shade. Testing two shades on a nail before committing is worth the extra minute.
Suede-Effect Mocha
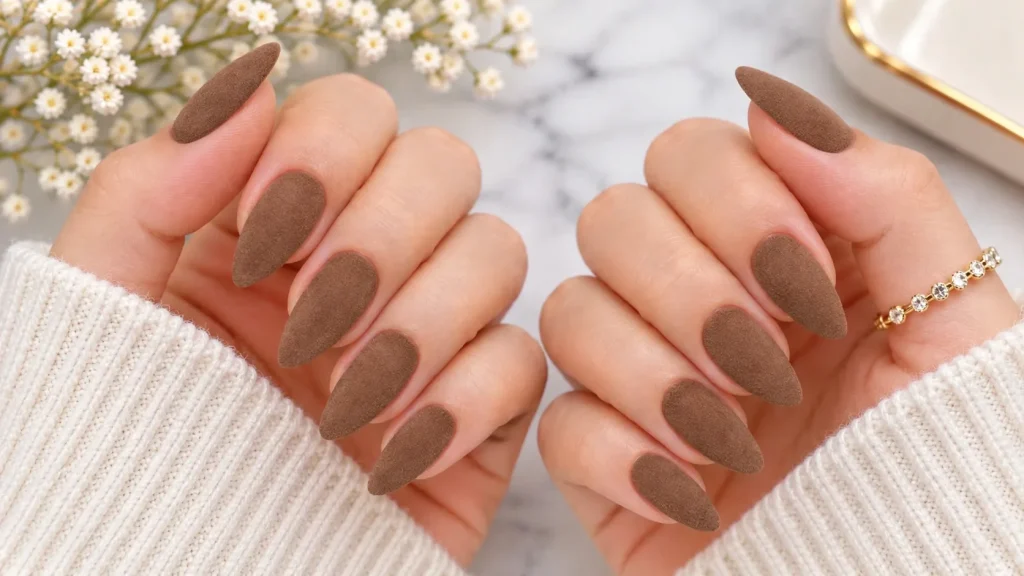
A velvety, suede-like finish turns a simple solid color into something rich and textured.
Paint two coats of a deep mocha, chocolate, or taupe shade. For a smooth suede-inspired look, simply finish with a matte top coat. For a soft, textured velvet effect instead, sprinkle nail-safe flocking powder over a suitable tacky surface and gently remove the excess.
The non-shiny finish looks especially elegant in autumn and winter.
Matte finishes can pick up oils from your hands, so touch up with a fresh matte top coat every few days.
Linen Weave Texture
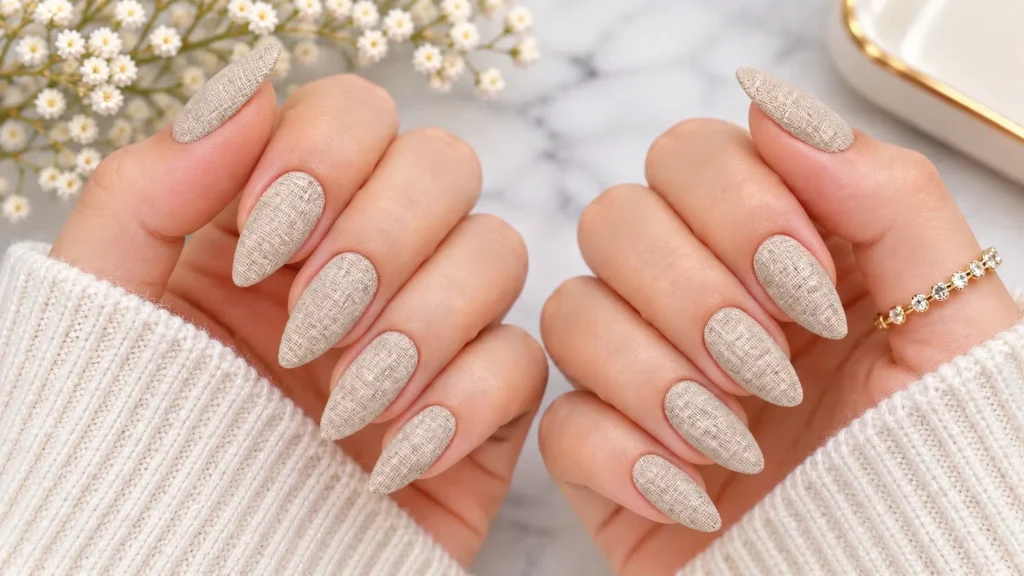
This design mimics the fine crosshatch texture of linen fabric.
Paint a soft neutral base, like oatmeal, ivory, or pale gray. Once the base is dry, use a fine liner brush to draw delicate horizontal lines in a slightly darker shade. Add a few thin vertical strokes to create a woven effect.
The result is a gentle woven texture that looks expensive up close and simple from a distance.
Keep the lines very faint. The goal is a whisper of texture, not a bold pattern.
Two Finishes, One Shade
Choose one color, like warm beige, navy, or deep green, and paint all your nails in it. Then give some nails a glossy top coat and others a matte one.
For example, try glossy on most nails and matte on the ring fingers. Or alternate glossy and matte across each hand.
It’s a quiet, sophisticated twist that’s easy for beginners. The difference is subtle in photos but beautiful in person. Deep shades like navy or forest green show the contrast between matte and gloss most clearly.
Brushed Gold Accent Nail
Instead of a mirror-like shine, brushed gold has a soft, satiny metallic finish.
Paint most of your nails a pale neutral, like ivory or nude, and choose one accent nail for brushed gold. You can use a brushed metallic polish, or apply gold foil with its transfer adhesive and then a satin or matte top coat to soften the shine.
Wear it to: holiday parties, weddings, and special dinners.
It pairs nicely with gold jewelry, since the finishes echo each other.
Soft modern art (five designs): a little artistry, still very wearable.
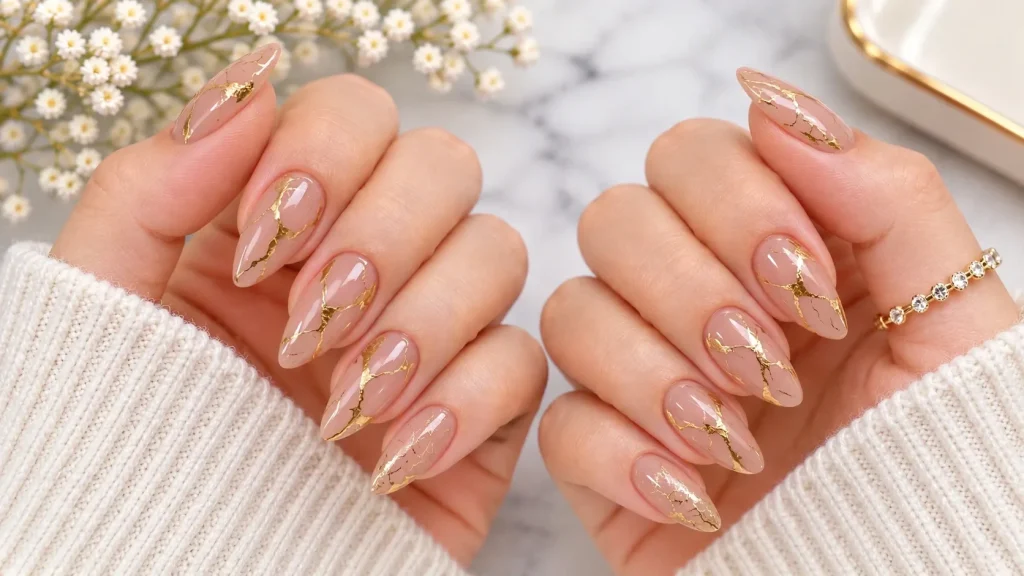
Kintsugi Gold Line
Kintsugi is the Japanese art of repairing broken pottery with gold, highlighting the cracks rather than hiding them.
On nails, it becomes a thin, slightly uneven gold line running across a nude or cream base, like a delicate gold repair line.
Use a fine liner brush and gold polish. Let the line wander naturally, with a small branch or two.
Try it on one or two accent nails, with the rest in the same base color. It looks artistic but still very calm.
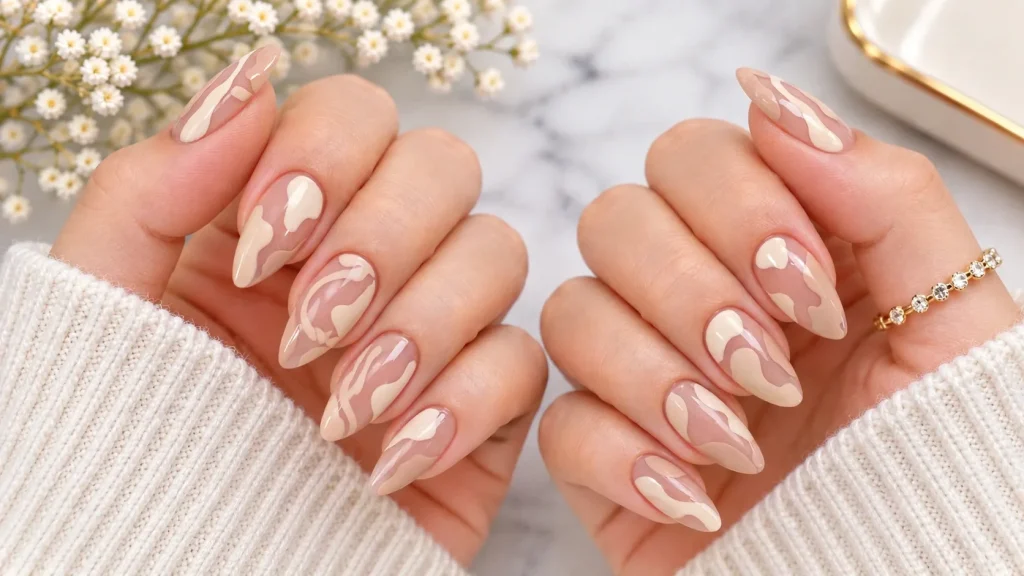
Abstract Nude Shapes
This design uses rounded, organic shapes in several neutral shades, like cream, caramel, taupe, and blush.
Paint a pale base, then add one or two organic shapes on each nail with a small brush. The shapes can vary, but keep them a similar size and use the same few colors on every nail, so the set feels balanced rather than random.
Tips for success:
- Stick to three or four neutral shades
- Leave plenty of the base showing
- Add a thin gold line or dot on one nail if you like
The overall effect looks modern, gentle, and very wearable for work.
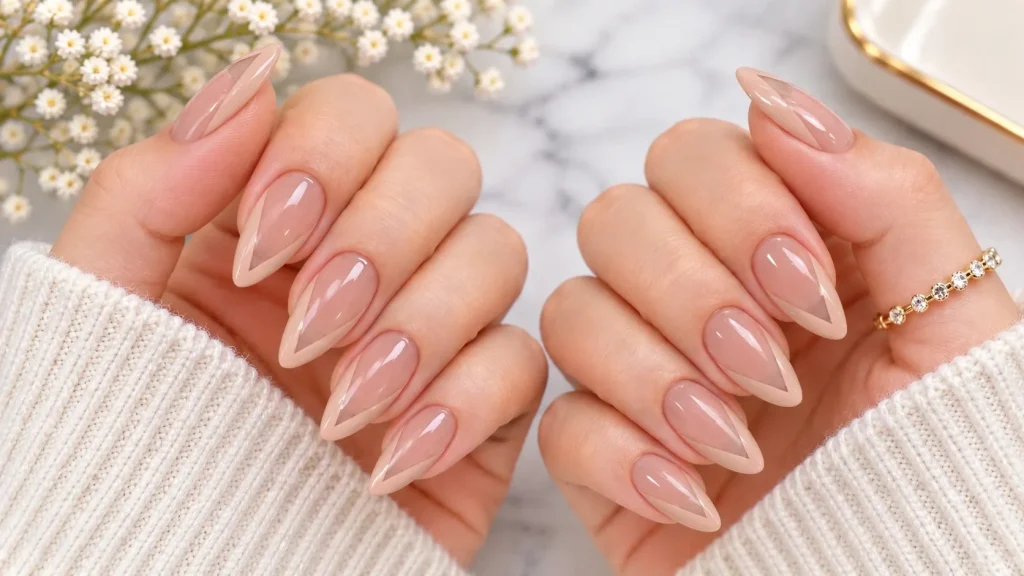
Negative-Space Triangle
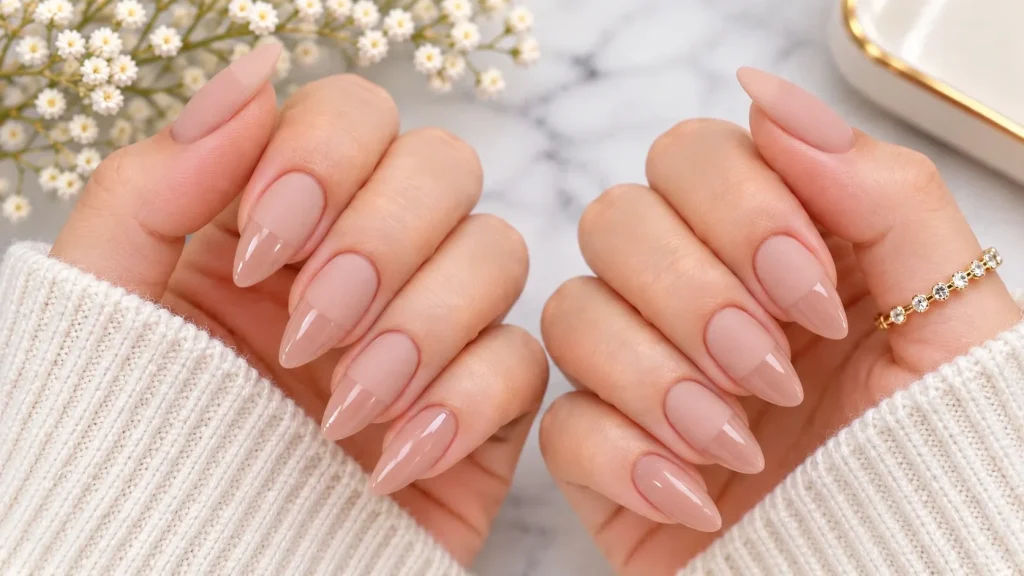
Paint a small triangle at the base of each nail, leaving the rest bare or sheer.
You can use a deep shade like burgundy or navy for contrast, or a soft neutral for a quieter look.
Striping tape helps you get crisp, straight edges. Remove it while the polish is still slightly wet for the cleanest line.
This design feels sharp and minimal. Try it with the triangle pointing up toward the tip for a classic look, or flipped so the point touches the cuticle for something a little more unexpected.
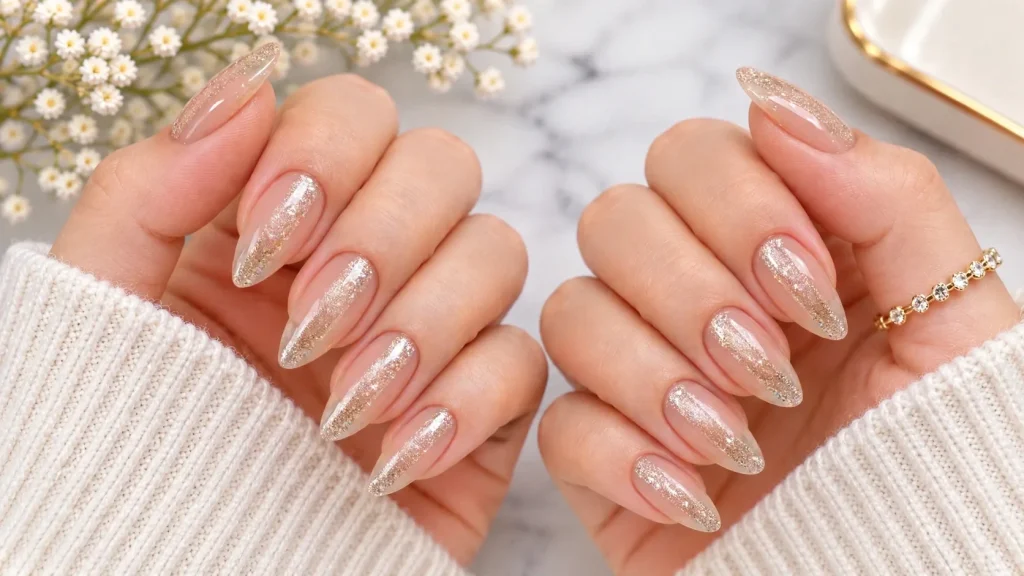
Shimmer Sandwich
This one is all about depth. A fine shimmer is layered between sheer coats, so the nails seem to glow softly from within rather than sparkle on the surface.
Paint one coat of a sheer pink or beige, add one thin coat of very fine champagne shimmer, then finish with another sheer coat and a glossy top coat.
From a distance, it reads as a clean neutral. Up close, the light catches the hidden shimmer in a quiet, expensive-looking way.
Choose a shimmer with tiny particles, not chunky glitter, to keep it understated.
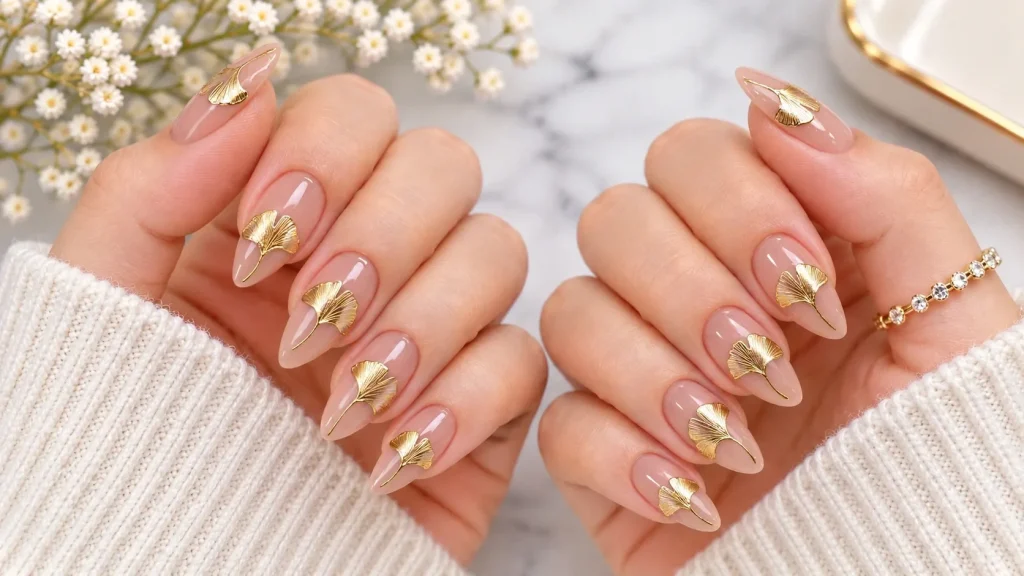
Gold Ginkgo Leaf
The ginkgo leaf, with its fan-like shape, is a symbol of long life and resilience in some cultures. It also looks beautiful as nail art.
Use gold foil, a gold nail sticker, or a fine brush to place a small fan-shaped leaf on one or two nails. Keep the rest of the nails in a sheer or soft neutral shade.
It’s delicate, and it works for every season. Of all the designs here, it’s one of the easiest to personalize, since you can change the leaf color or placement to suit your mood.
How to Make Simple Nails Last
Use a base coat and top coat every time. They protect your natural nails and help polish last longer.
Seal the tips. Brush top coat along the edge of each nail.
Wear gloves for chores. Hot water and cleaning products can wear down polish quickly.
Refresh the top coat midweek. A thin new layer helps keep the shine.
Moisturize your cuticles. A drop of cuticle oil before bed keeps the skin around your nails looking neat.
Choosing the Right Design
For the office: Fine Outline Frame, Cuticle Accent Curve, or Two Finishes, One Shade.
For a wedding or special event: Floating Gold Foil Bar, Brushed Gold Accent Nail, or Gold Ginkgo Leaf.
For beginners: Classic Red, Two Finishes, One Shade, or Shimmer Sandwich.
For something a little artistic: Kintsugi Gold Line, Abstract Nude Shapes, or Linen Weave Texture.
Common Mistakes With Elegant Nails
Overcrowding the design. Elegant nails often rely on one detail. Too many elements can look busy.
Ignoring nail shape. Uneven lengths or shapes can make a simple design look less polished.
Skipping cleanup. Polish on the skin can ruin even the most refined look.
Using thick layers. Thin coats dry faster, look smoother, and chip less.
Questions About Simple Elegant Nails
What nail colors look most elegant?
Soft nudes, warm beiges, classic red, deep burgundy, navy, and taupe are popular choices for an elegant look.
Which nail shape looks most elegant?
Short to medium oval, almond, and squoval shapes are popular for a polished look and are easy to maintain. That said, any shape can look elegant when it’s even and well kept.
Can I do elegant nail designs at home?
Yes. Many simple elegant nails need only a base coat, polish, top coat, and a fine brush or striping tape.
Are short nails elegant?
Absolutely. Short, neat, well-shaped nails often look more polished than long ones, especially with a minimal design.
How do I make my nails look expensive?
Focus on clean cuticles, an even shape, thin coats, and a glossy or deliberate matte finish.
One Detail Is Enough
Elegant nails aren’t about doing more. They’re about doing one small thing beautifully.
Pick one of these simple elegant nails, take your time with the shape and cleanup, and let that single detail shine. It’s often the quiet manicures that get the most compliments.